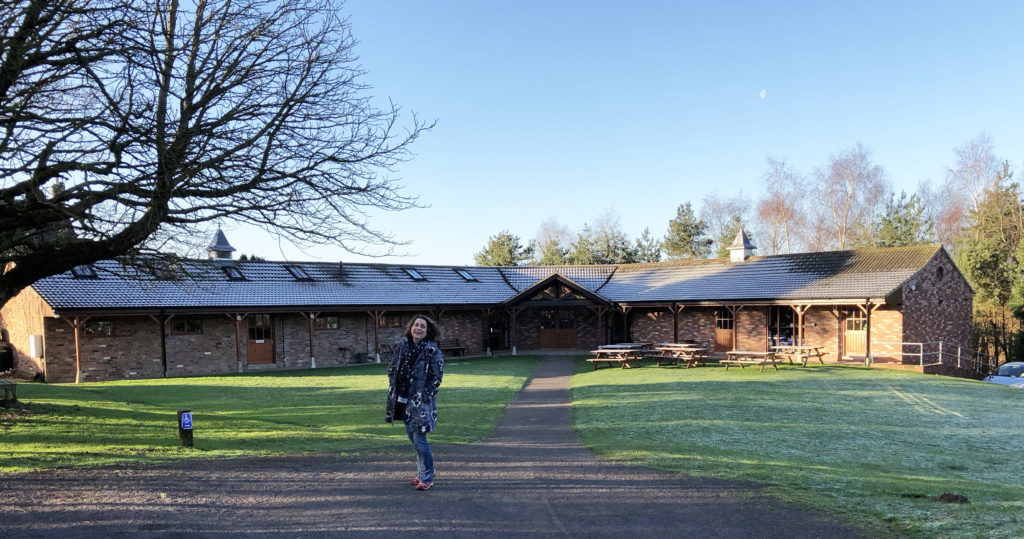
Well, it’s been a minute since I’ve been in this space. Or even picked up much in the way of a pattern, yarn or fabric. It feels good to be back, although I wasn’t sure I ever would. The last 16 or so months have been…….interesting.
There’s been a lot going on in all aspects of life, but we’re the other side of 90% of it now and life is good. But also very busy with a new business in the pipeline, teenagers, home, and just life in general.
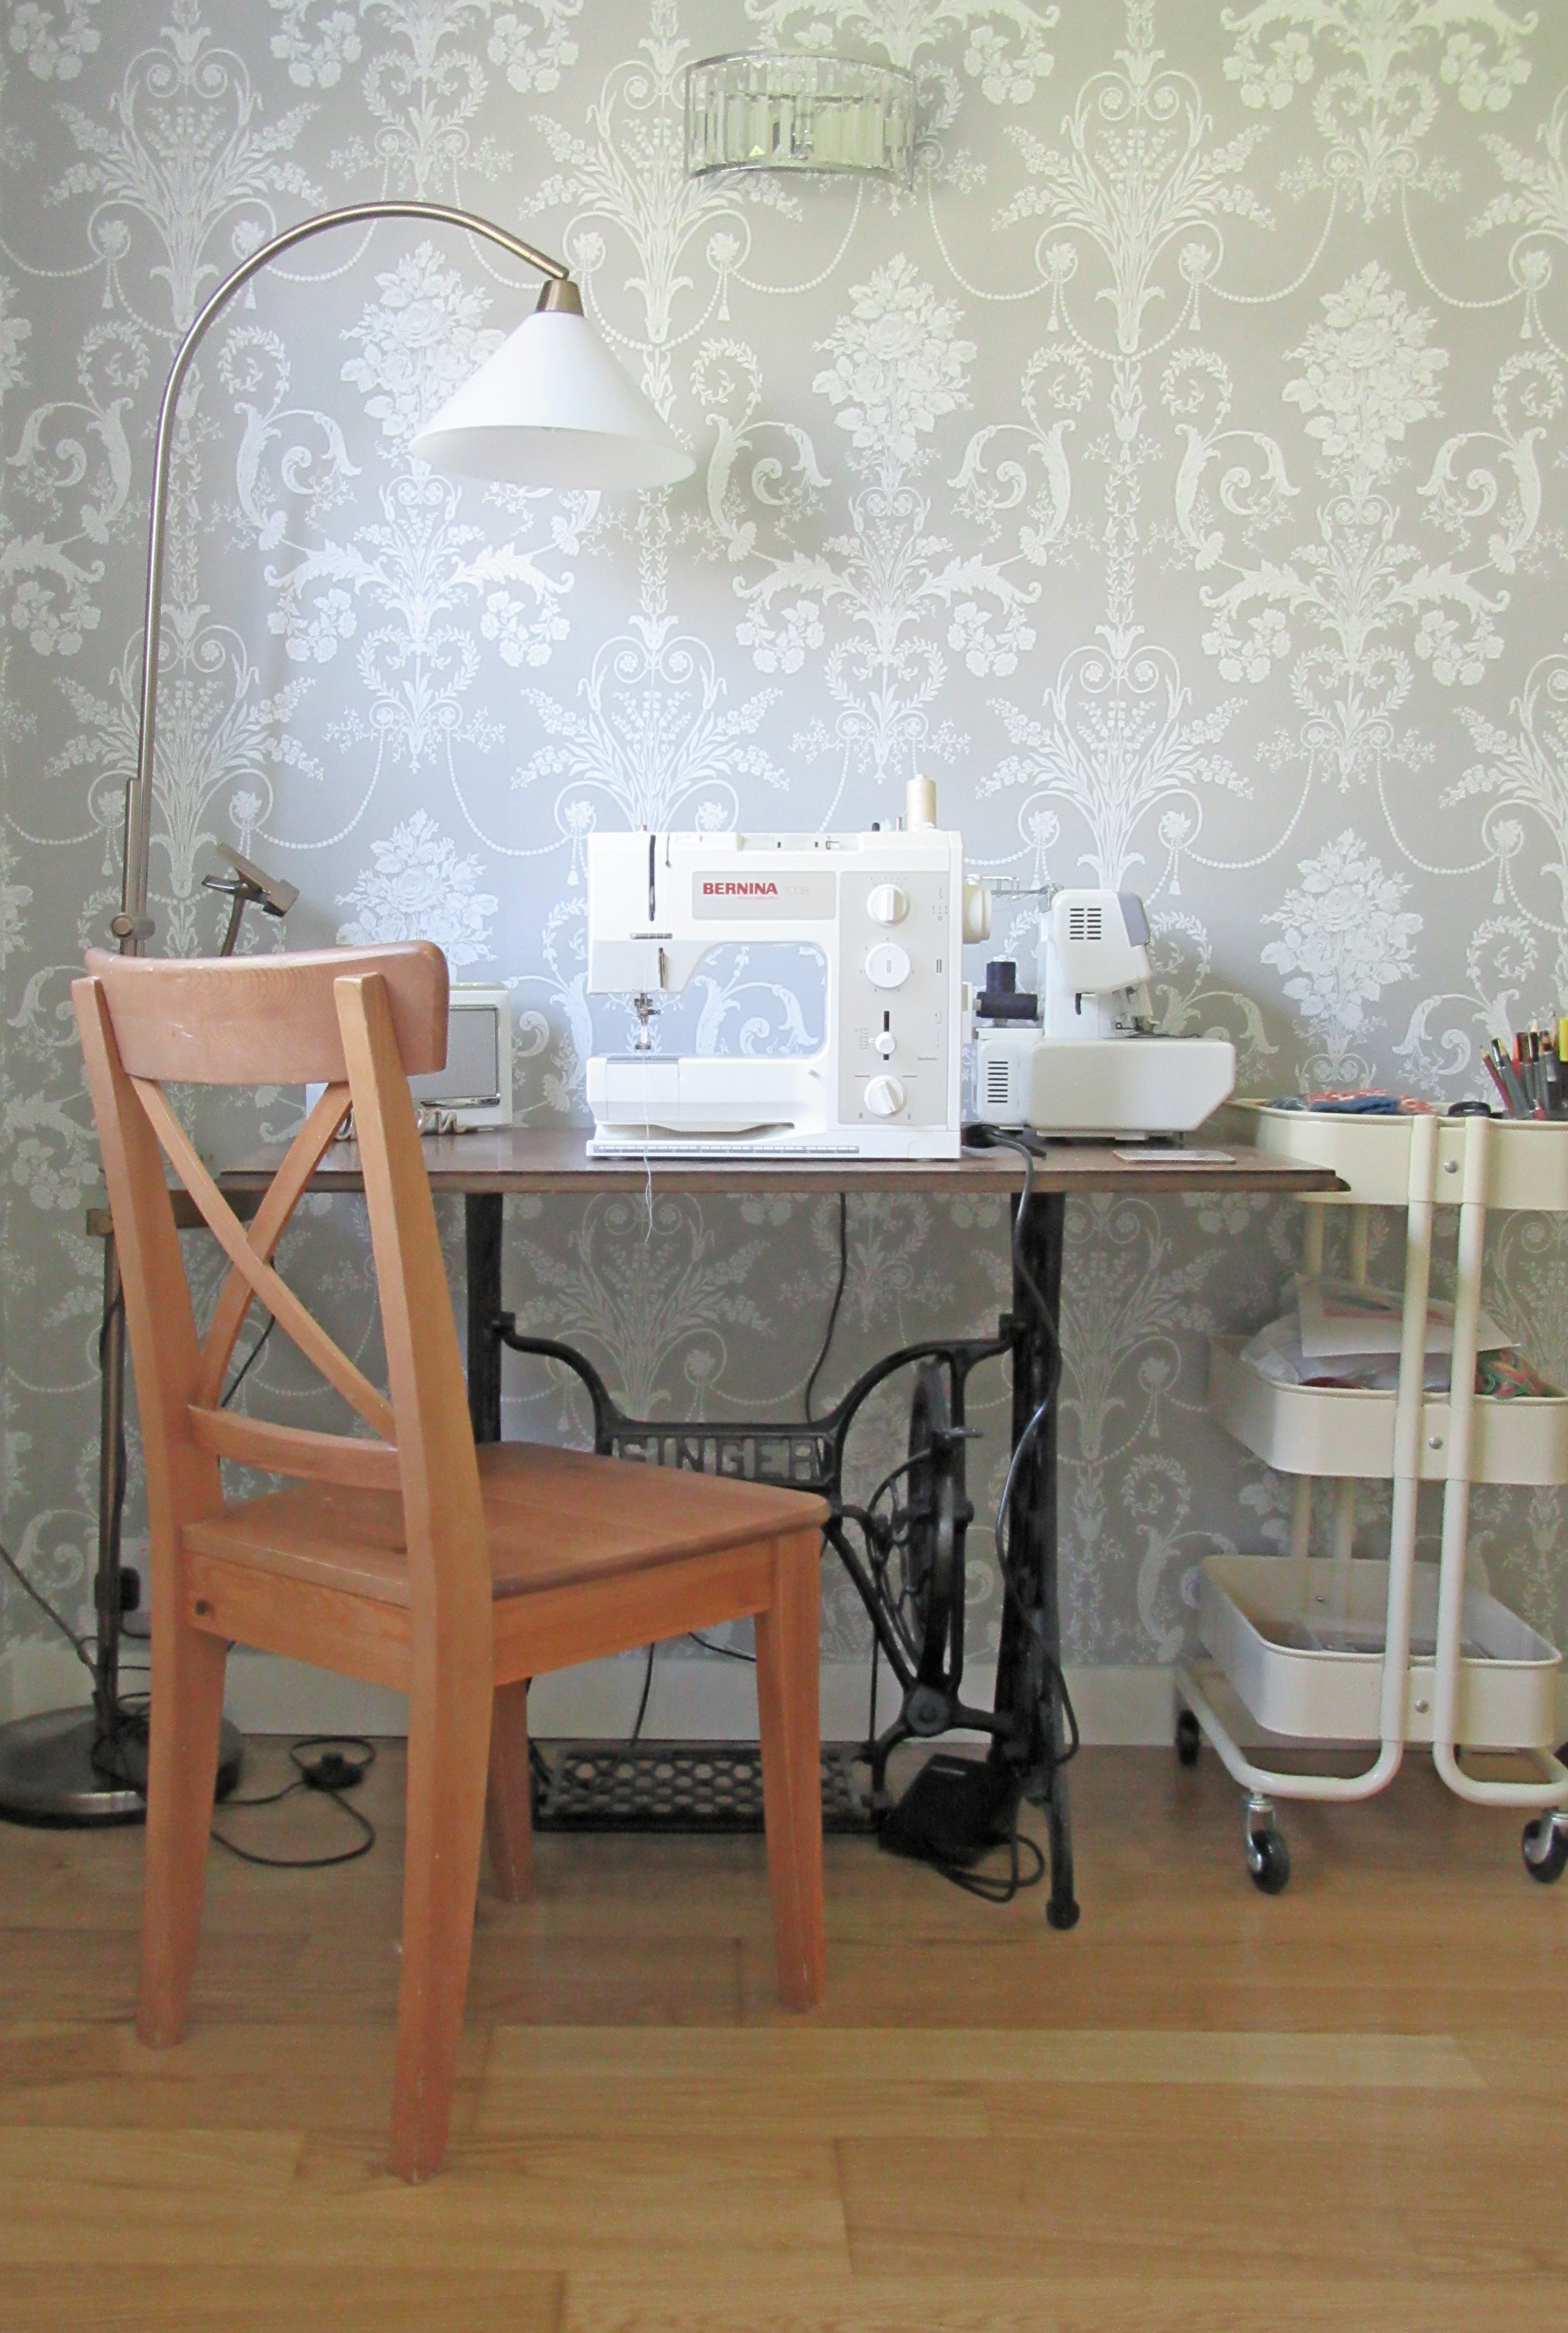
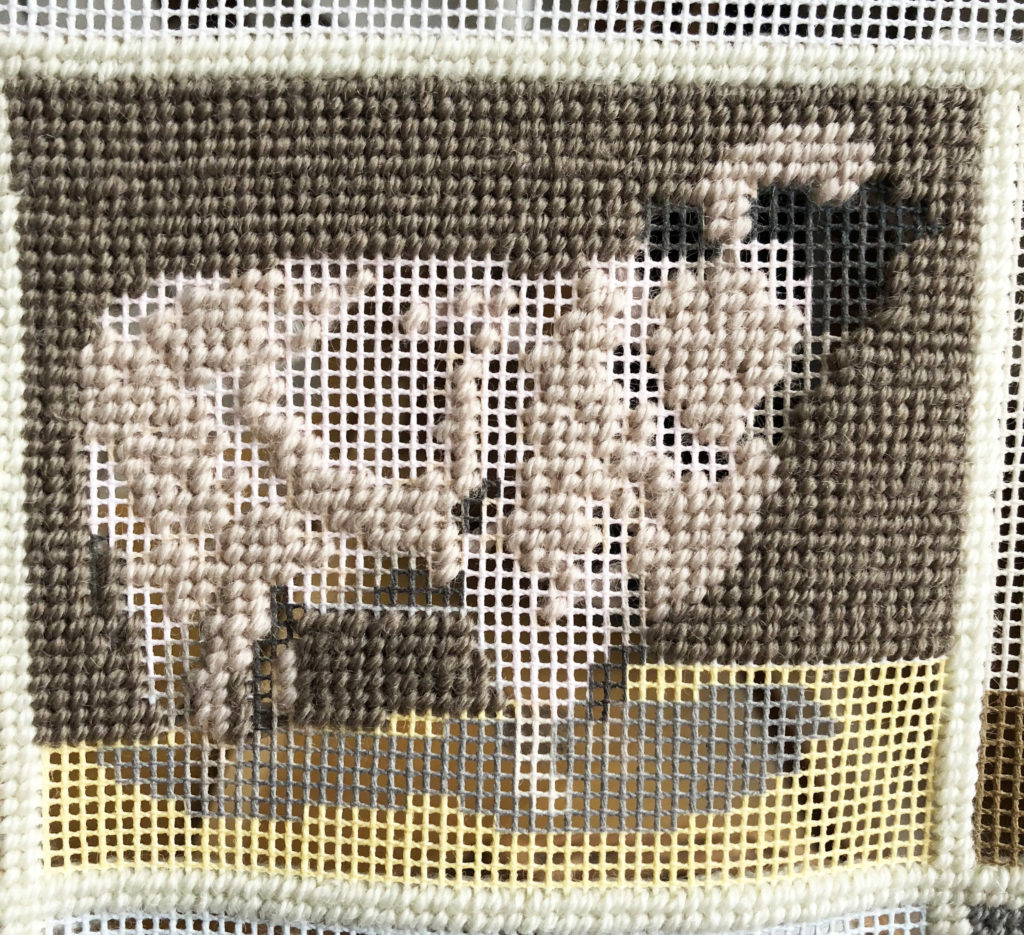
With all this going on there hasn’t been much making going on. Even the decorating in the hallway isn’t finished and we started that before the Covid pandemic! The few things I knitted have mostly been frogged, and sewing has been sadly missing from my life.
However, I thought I’d take this opportunity to document everything I made since we last spoke, which won’t take long, and then hopefully there’ll be new stuff coming through so that I don’t go into crafty hibernation again. I miss making. I’m itching to sew. I even have new fabric as well as some remaining stash, so time to crack on.
VIEW POST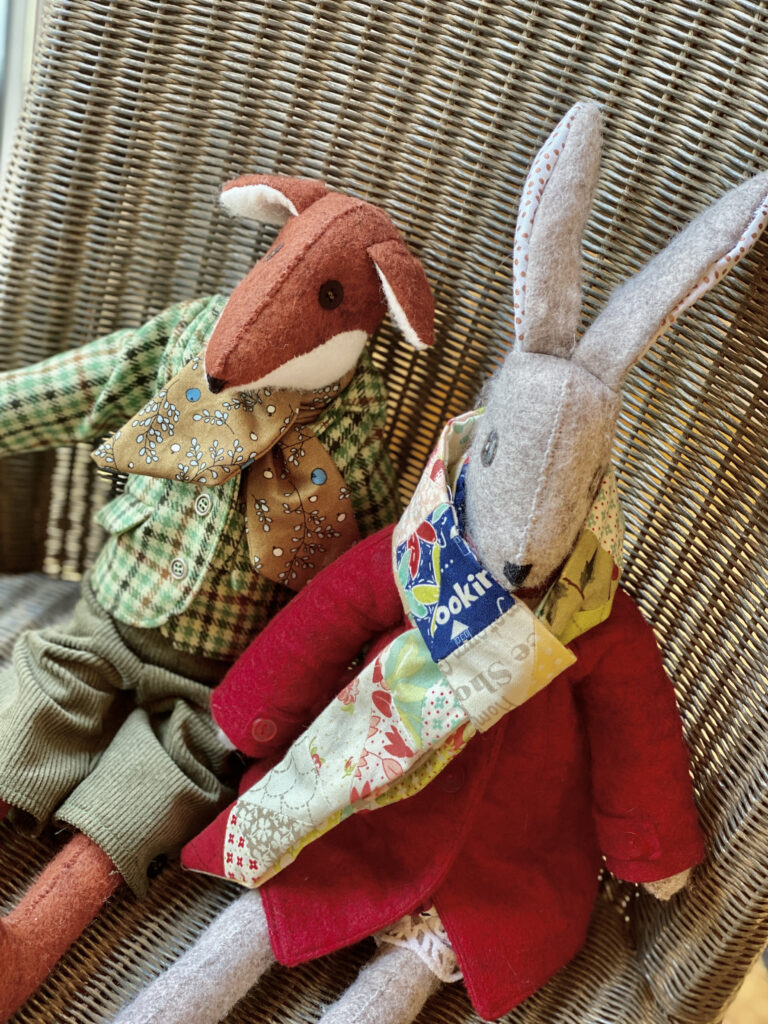
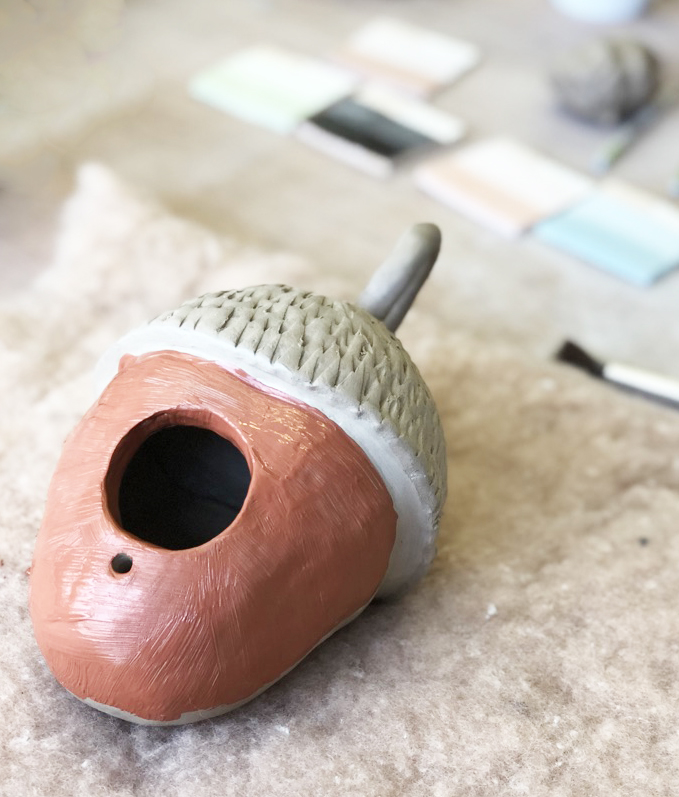 Coats of glazy stuff were applied. One matt, so the birds don’t slip on it, one shiny and pretty.
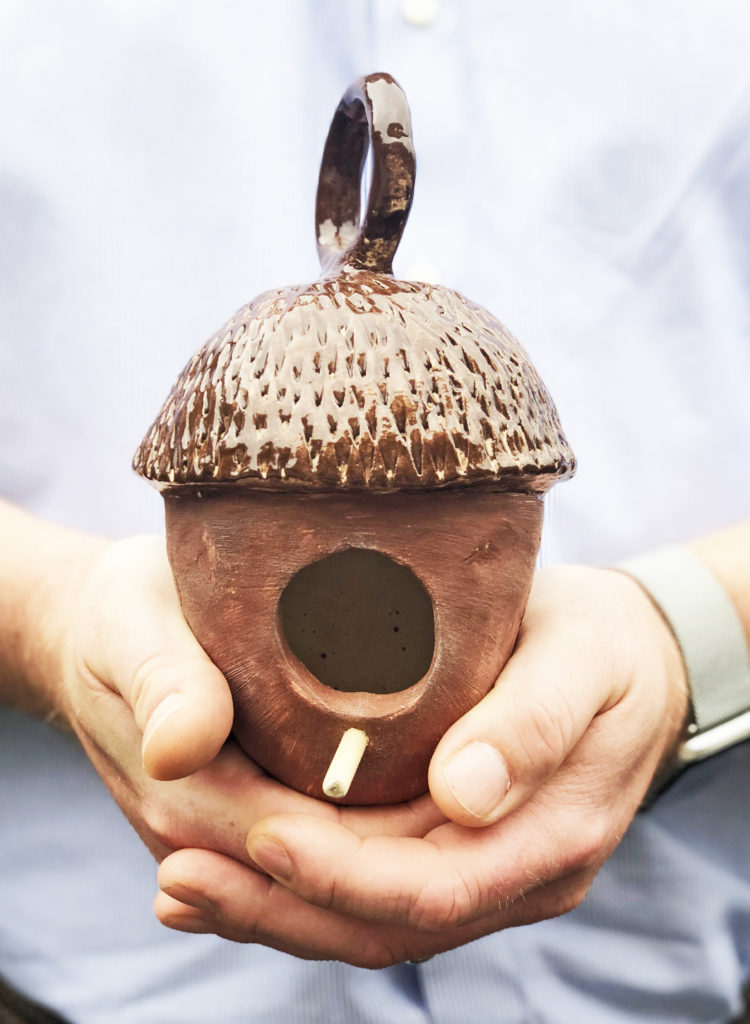
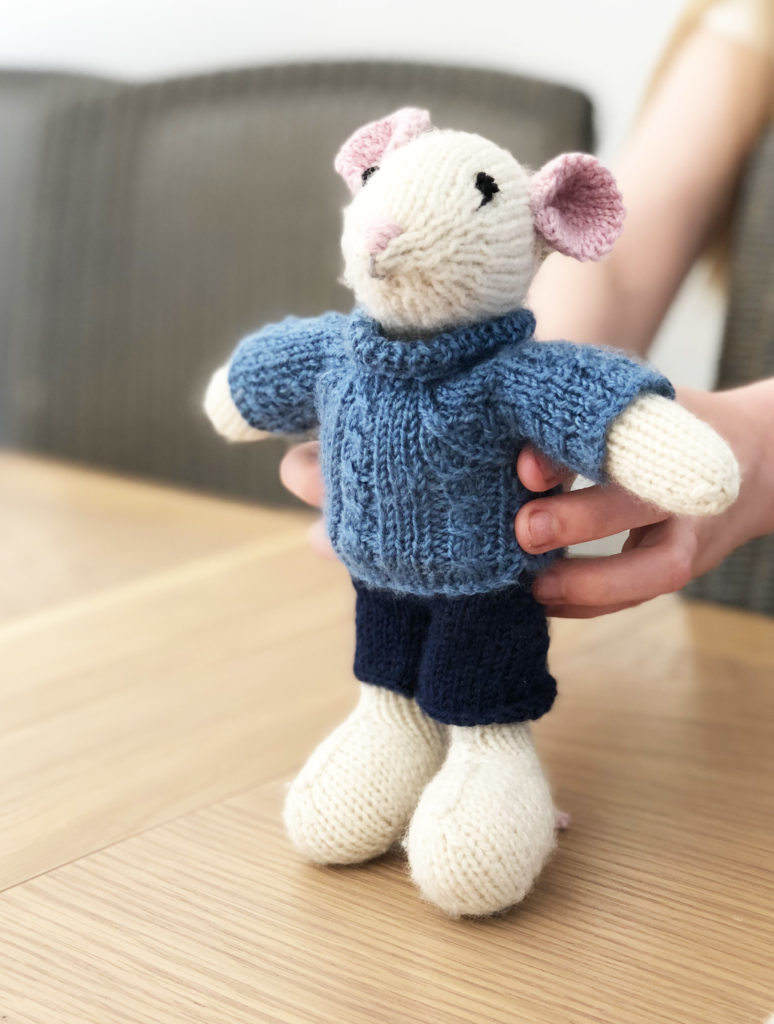
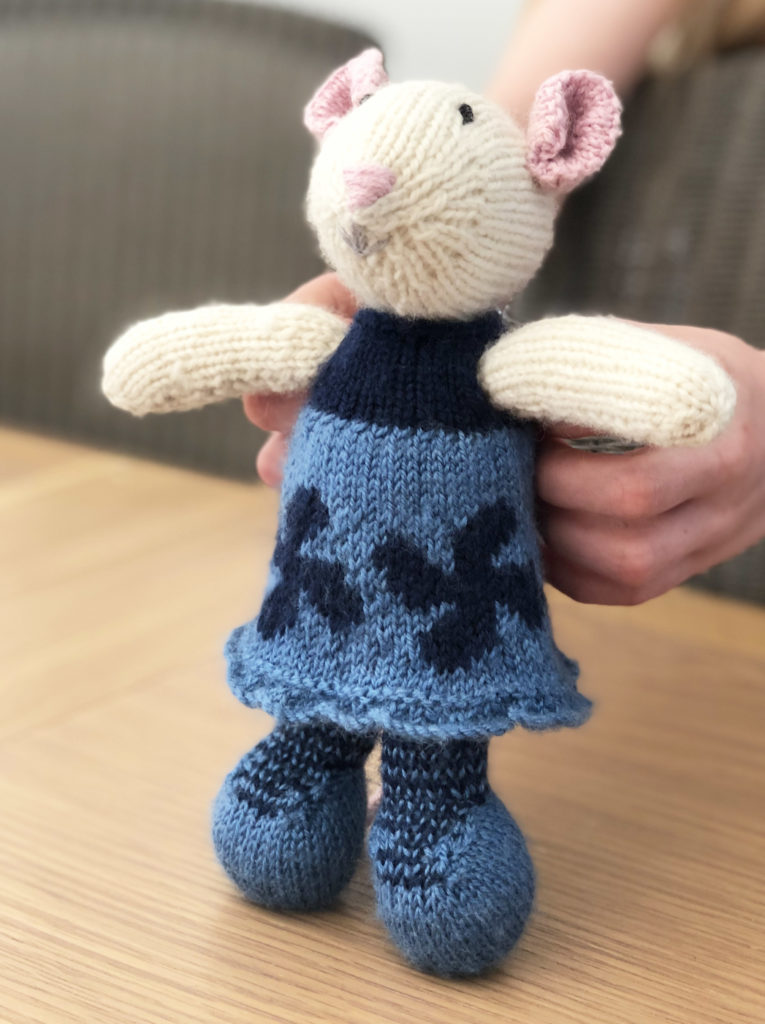

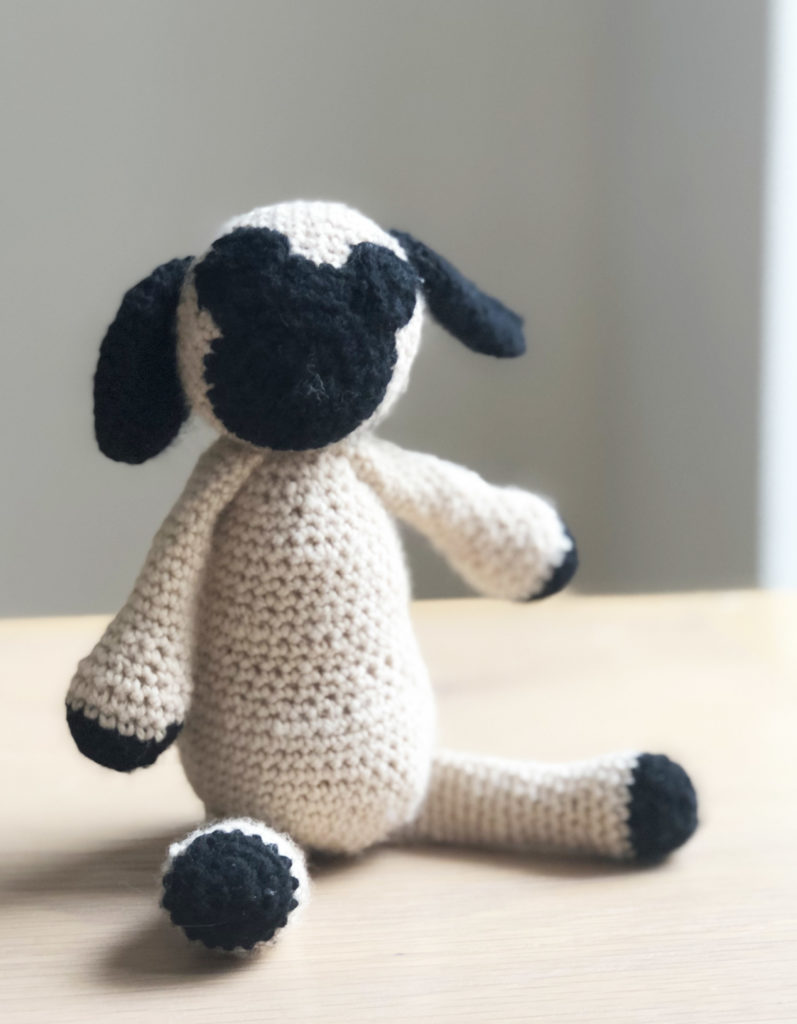
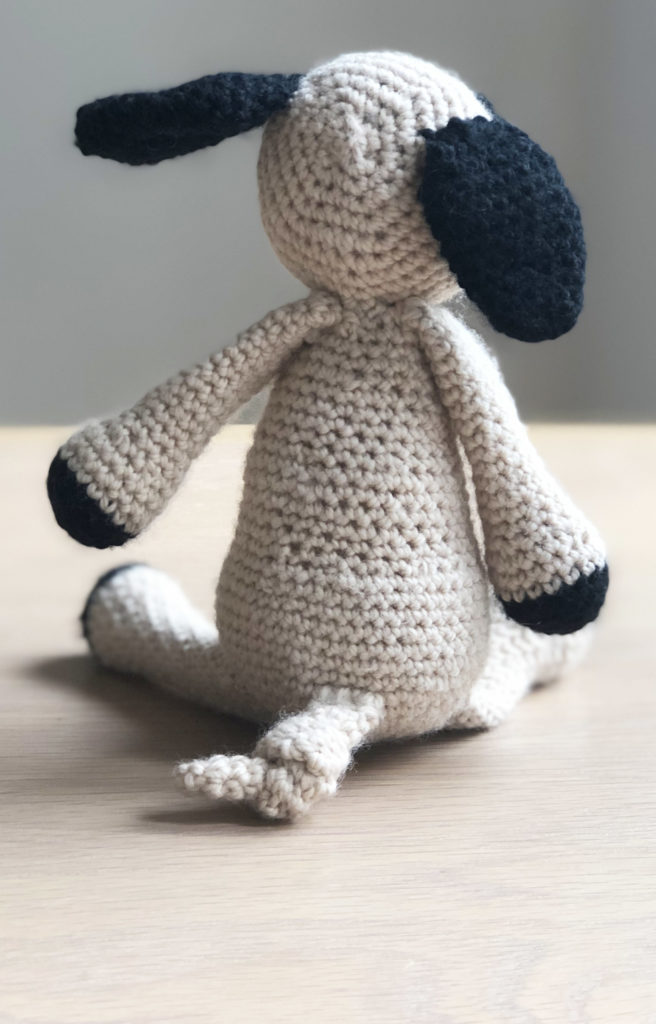
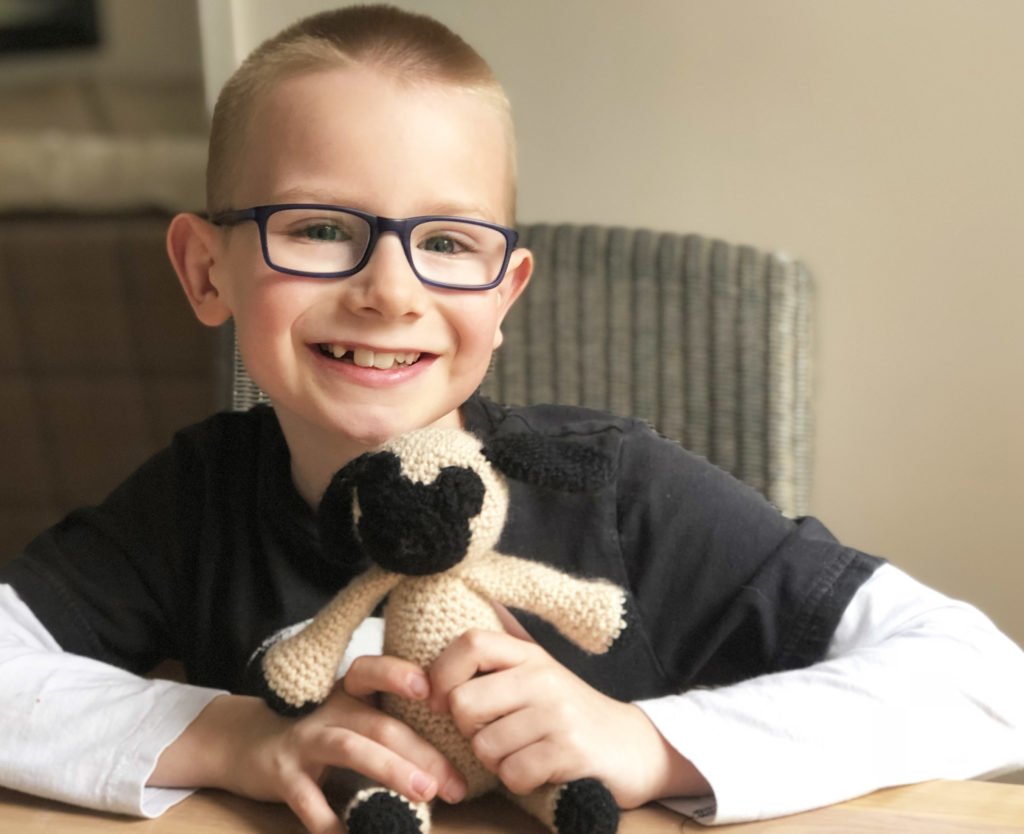 Although now, obviously, he’s not called Spencer. A new name has yet to be decided on. But with toy pugs already named Margaret and Phillip Reeve, who knows what we’ll end up with?!
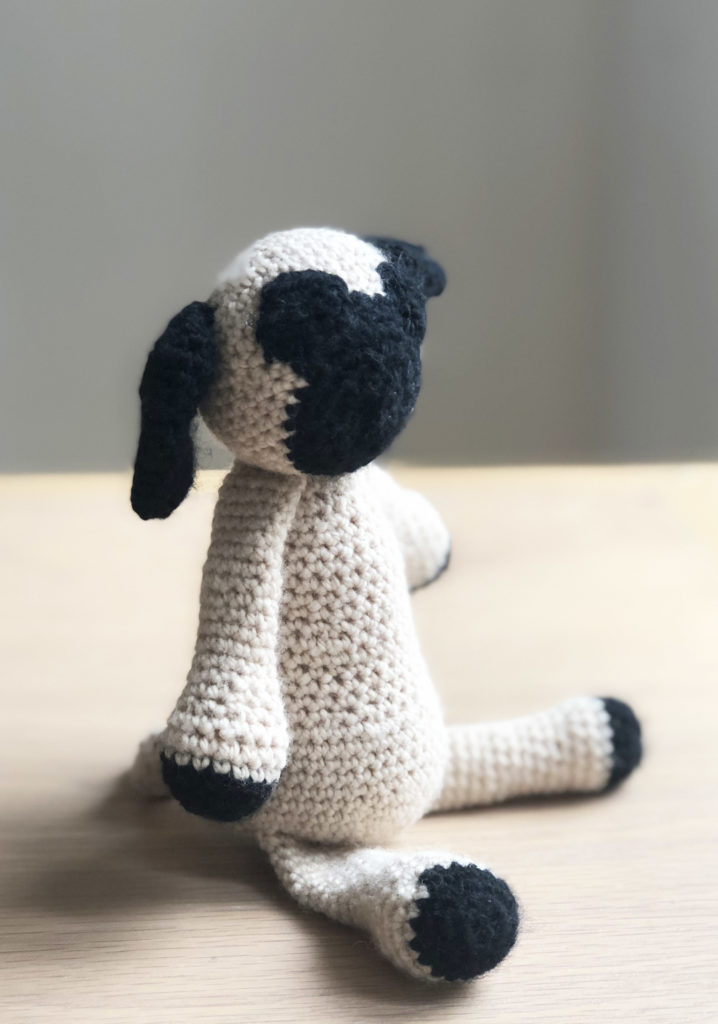
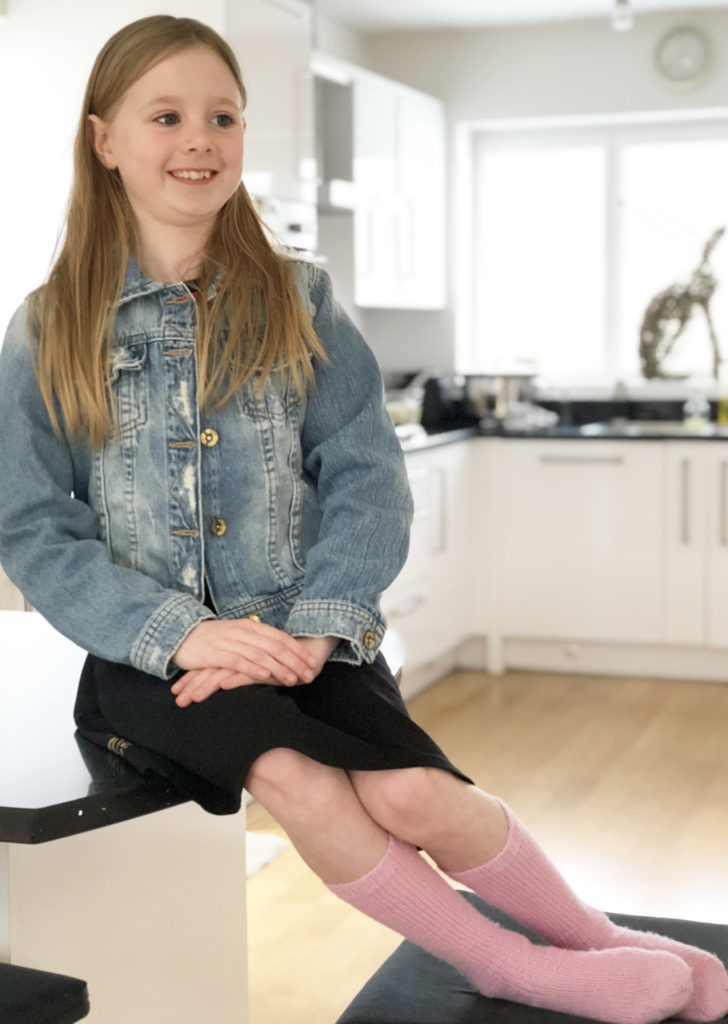
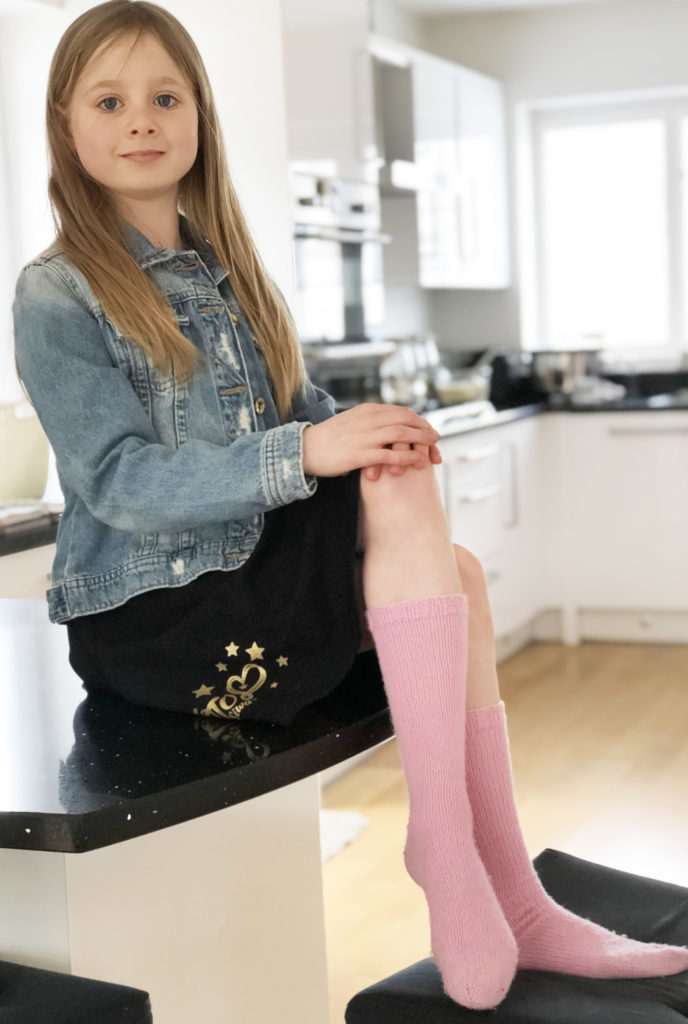

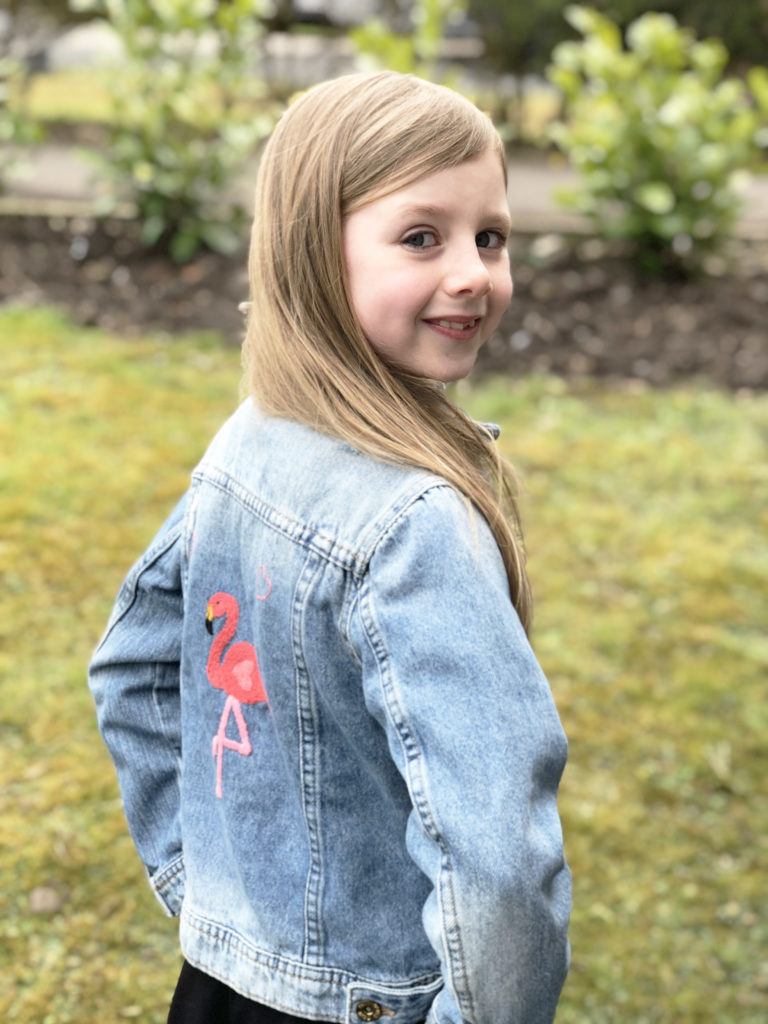 I didn’t have much choice. Whilst we were out shopping she said how much she loved the jacket, but that it would be so much better if only it had an embroidered flamingo on the back. And that would be something I could do for her, wouldn’t it?
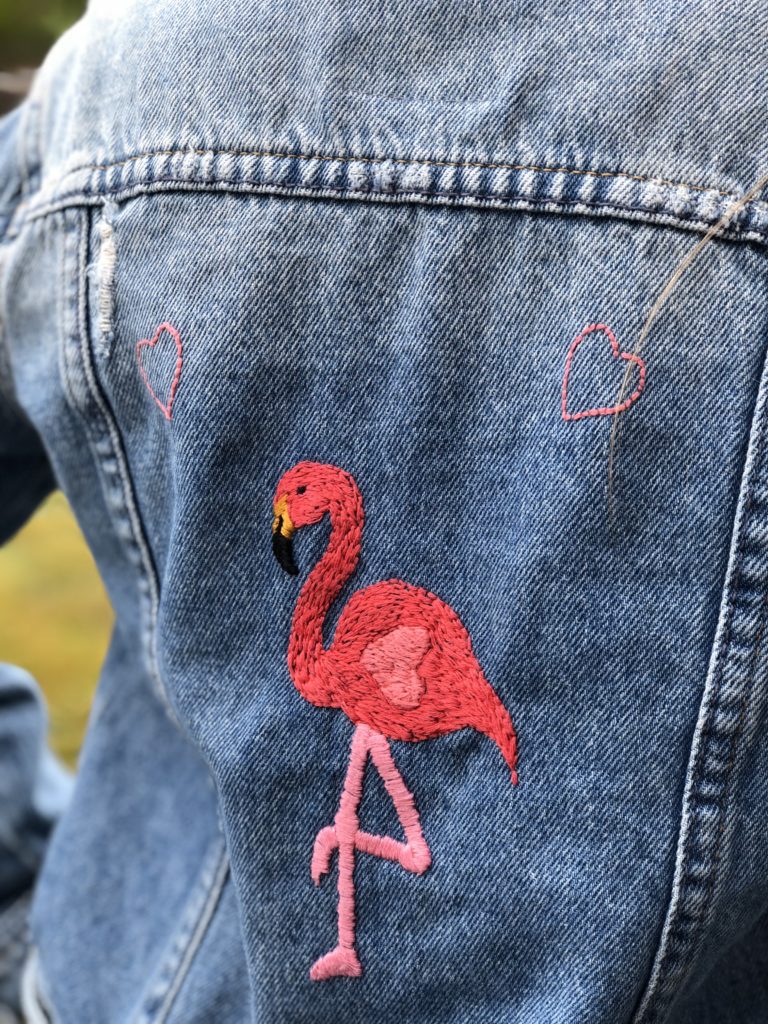 You can’t argue with a 10 year old! She’s got the skills of a Hague lawyer, that one!
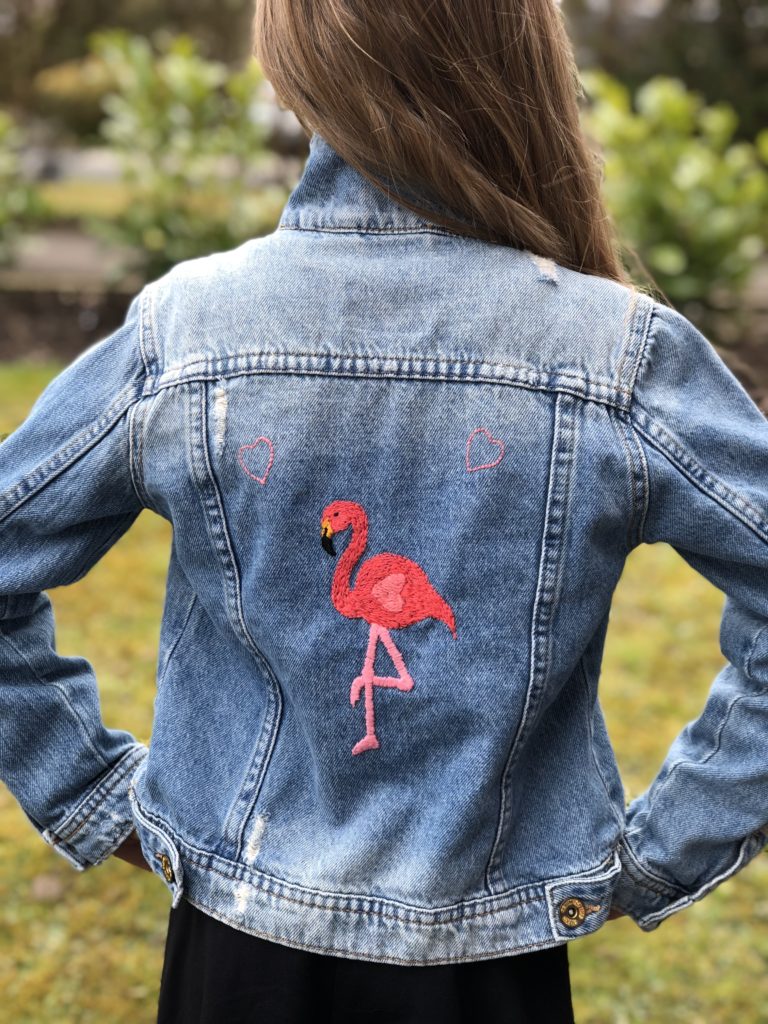
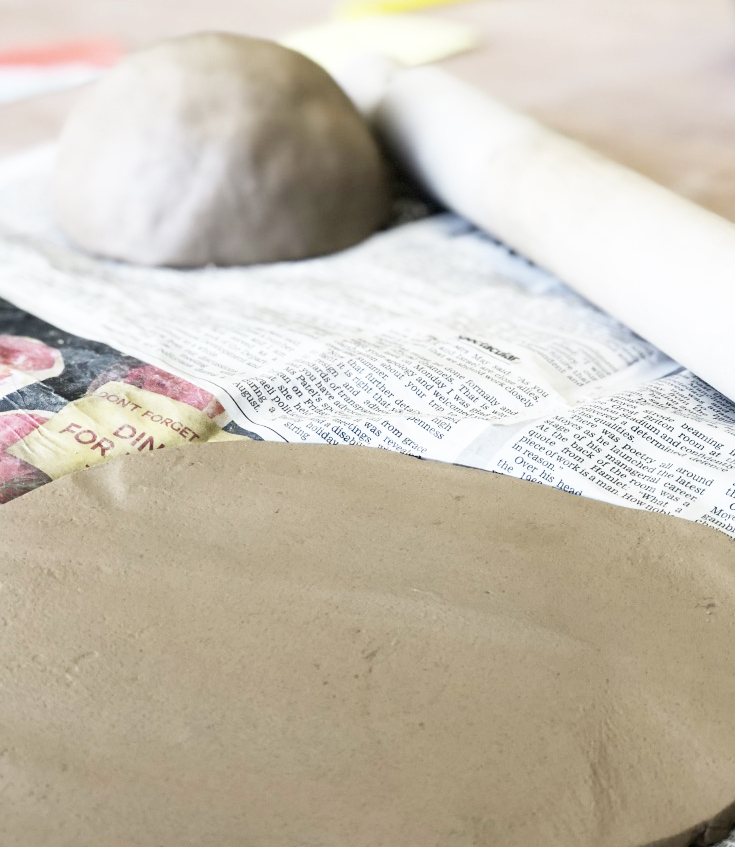
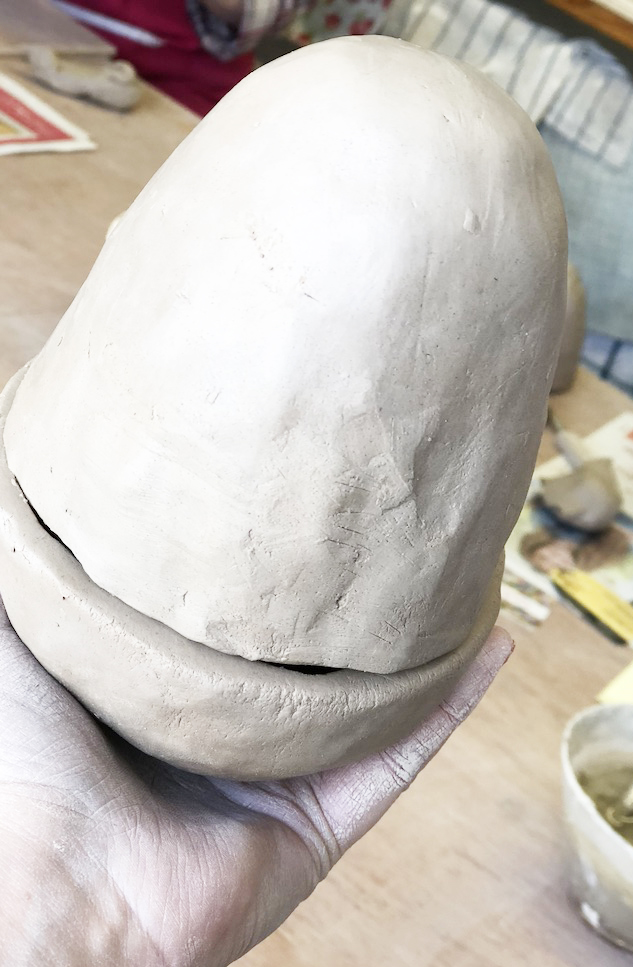
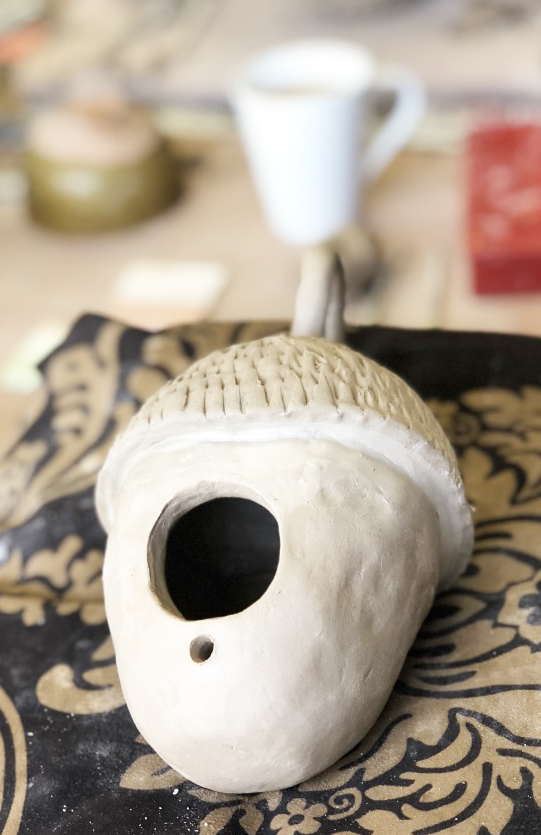
 Hubby, Dave, and I have been having dates to go and learn to make things in clay.
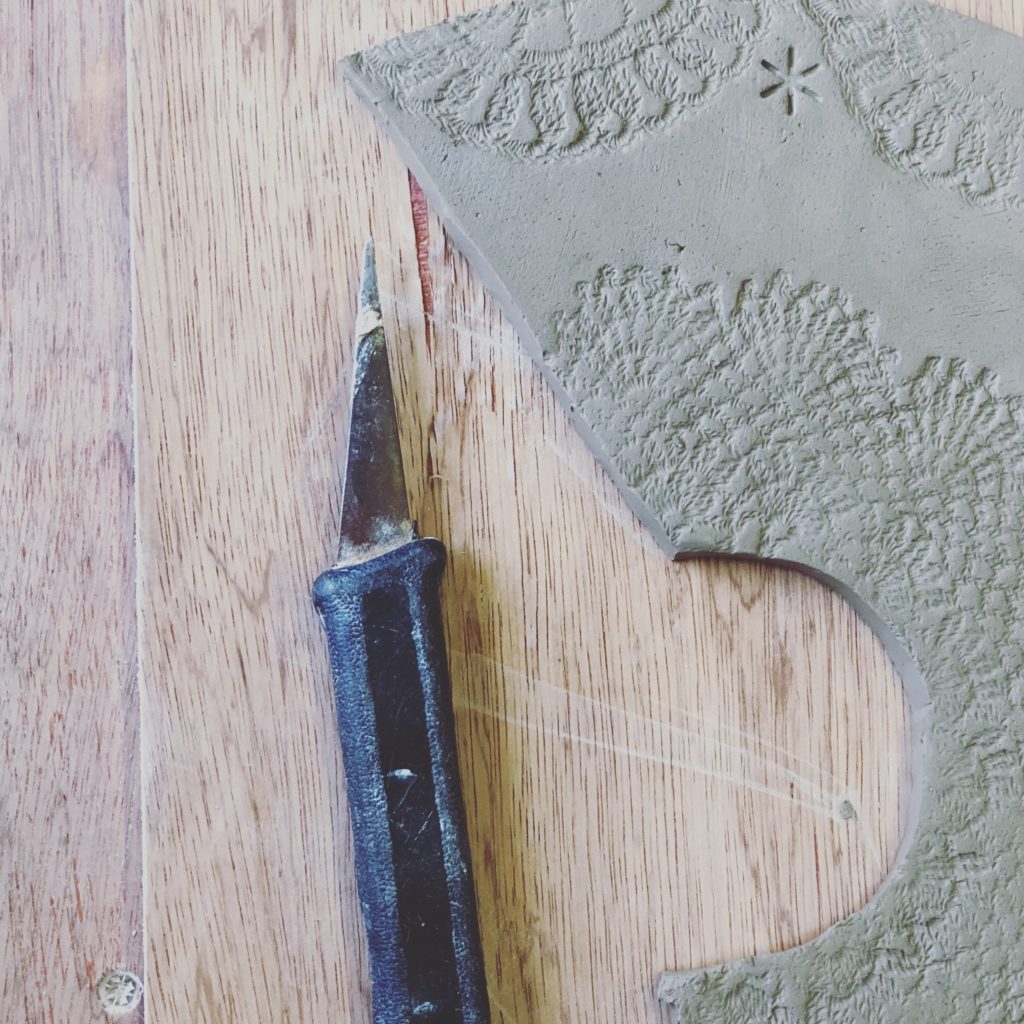 And today I attended a willow hare making workshop run by Joe of
 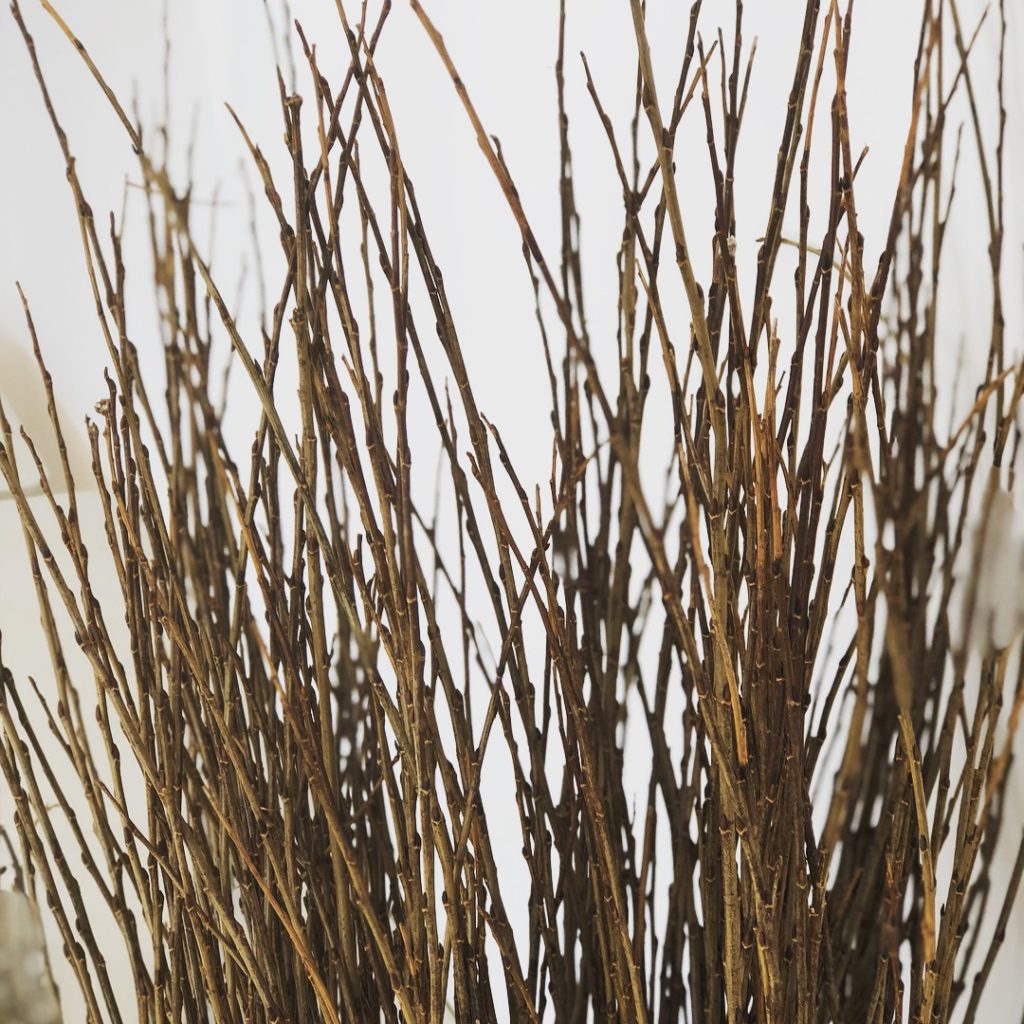 I’ve just got to say that I’ve never done anything like this before, but love willow sculpture and love stargazy hares. So when Ma gave me some cash for Christmas, with the instruction to buy myself something I truly wanted, this course was it! A day to myself, exploring a new creative outlet, with something (hopefully) lovely at the end of it.
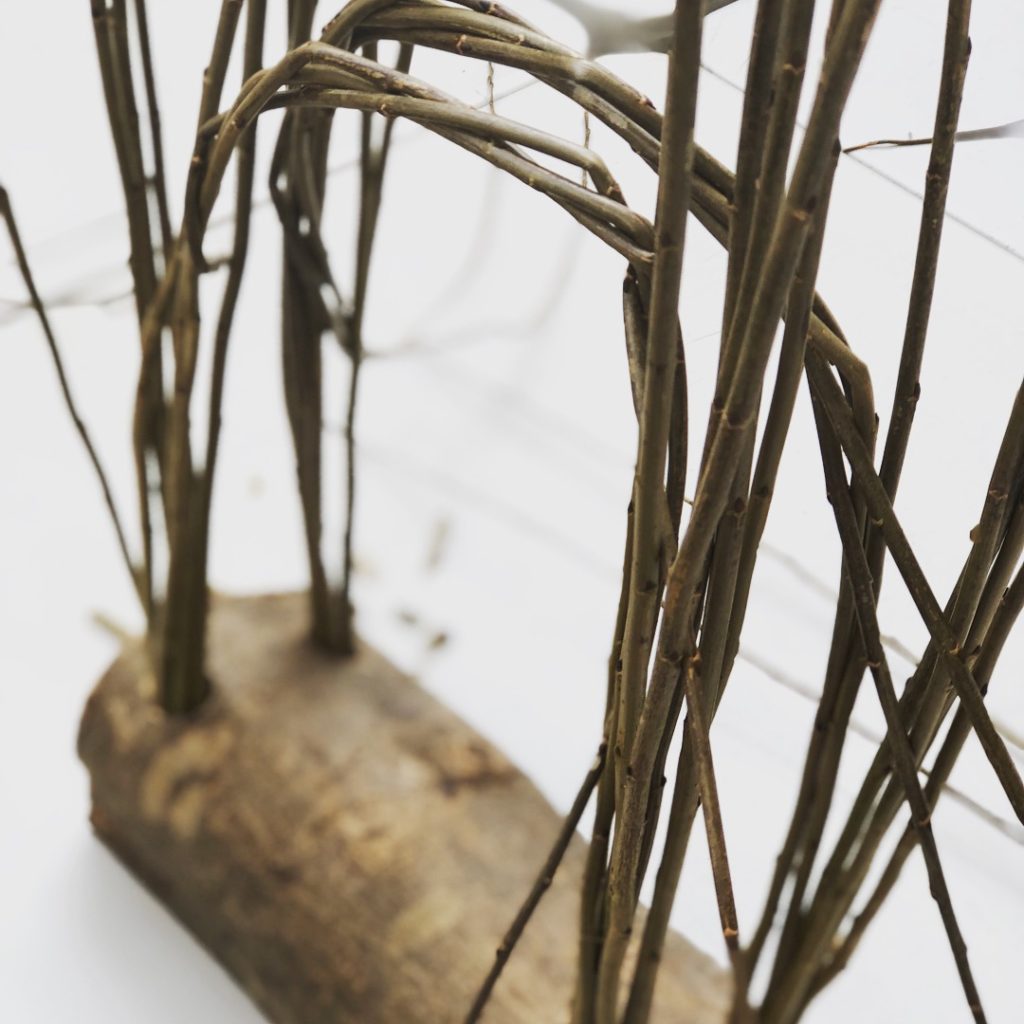 I really appreciated the way this workshop was structured. Joe took us step by step through the process, working with each person individually to make sure they were clear about what was required.
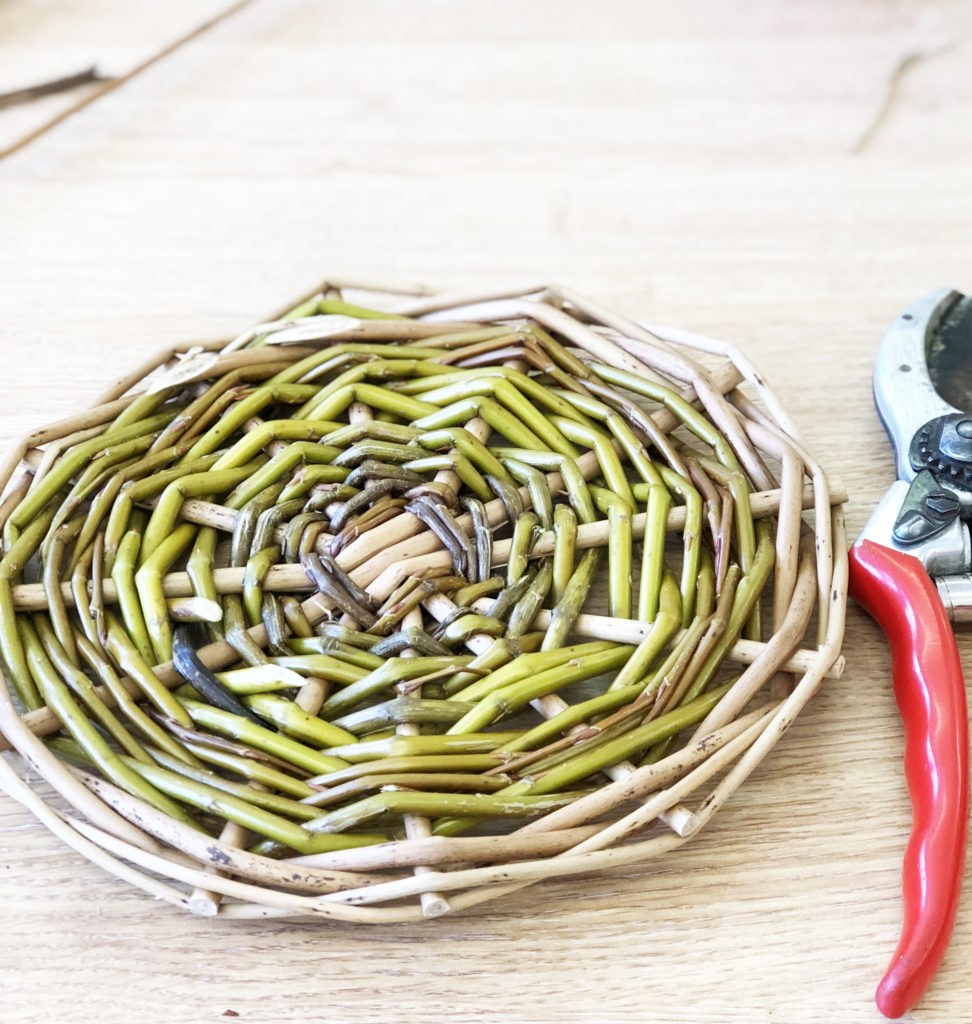
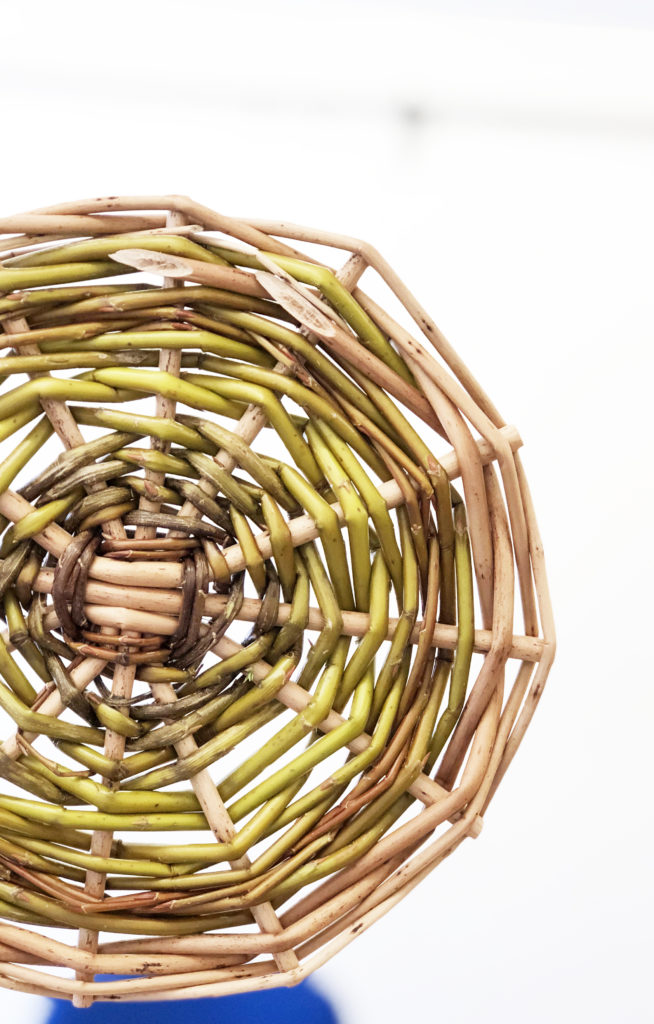
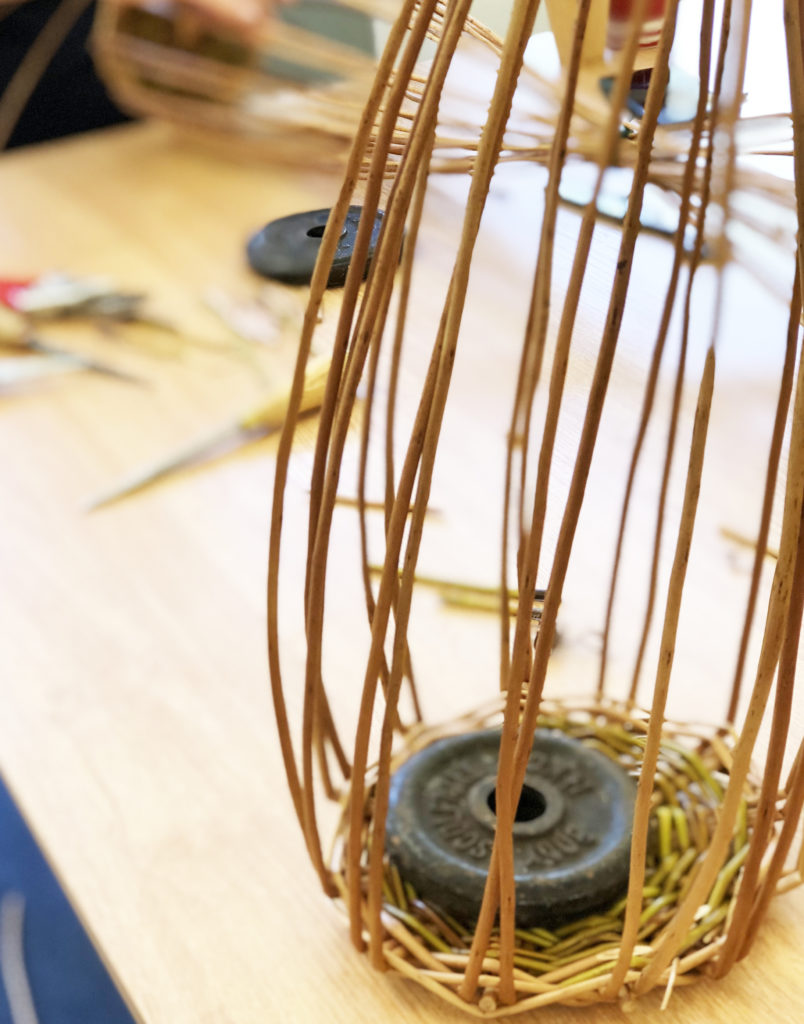
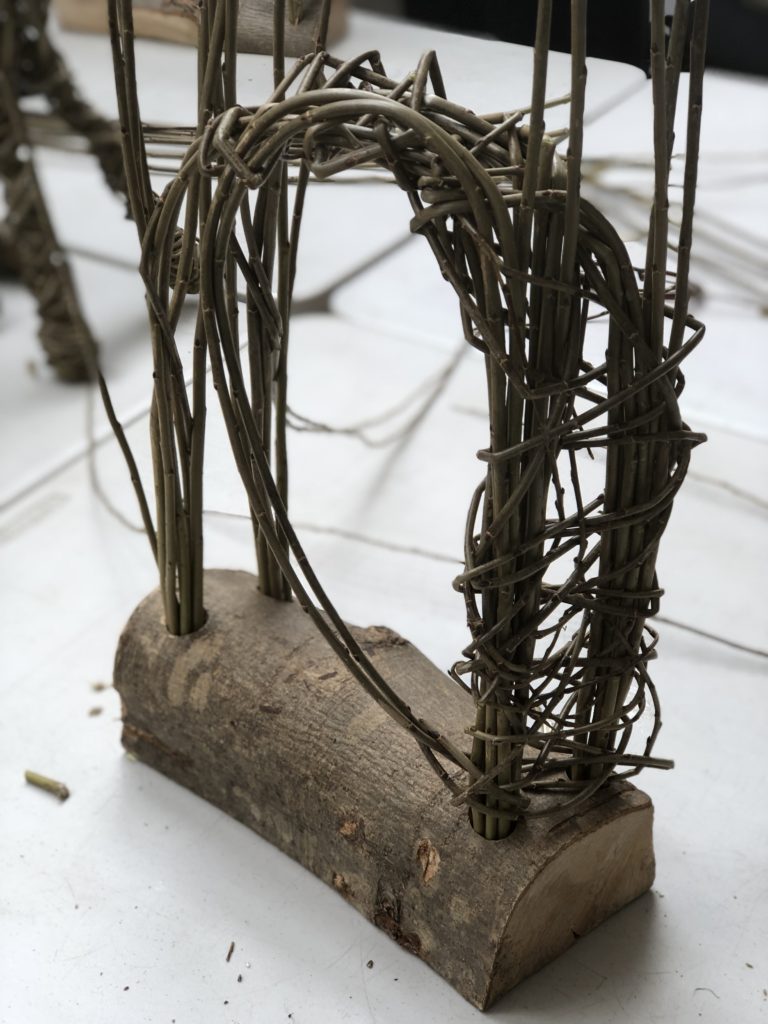 Slowly, slowly…step by step, the hare came into shape.
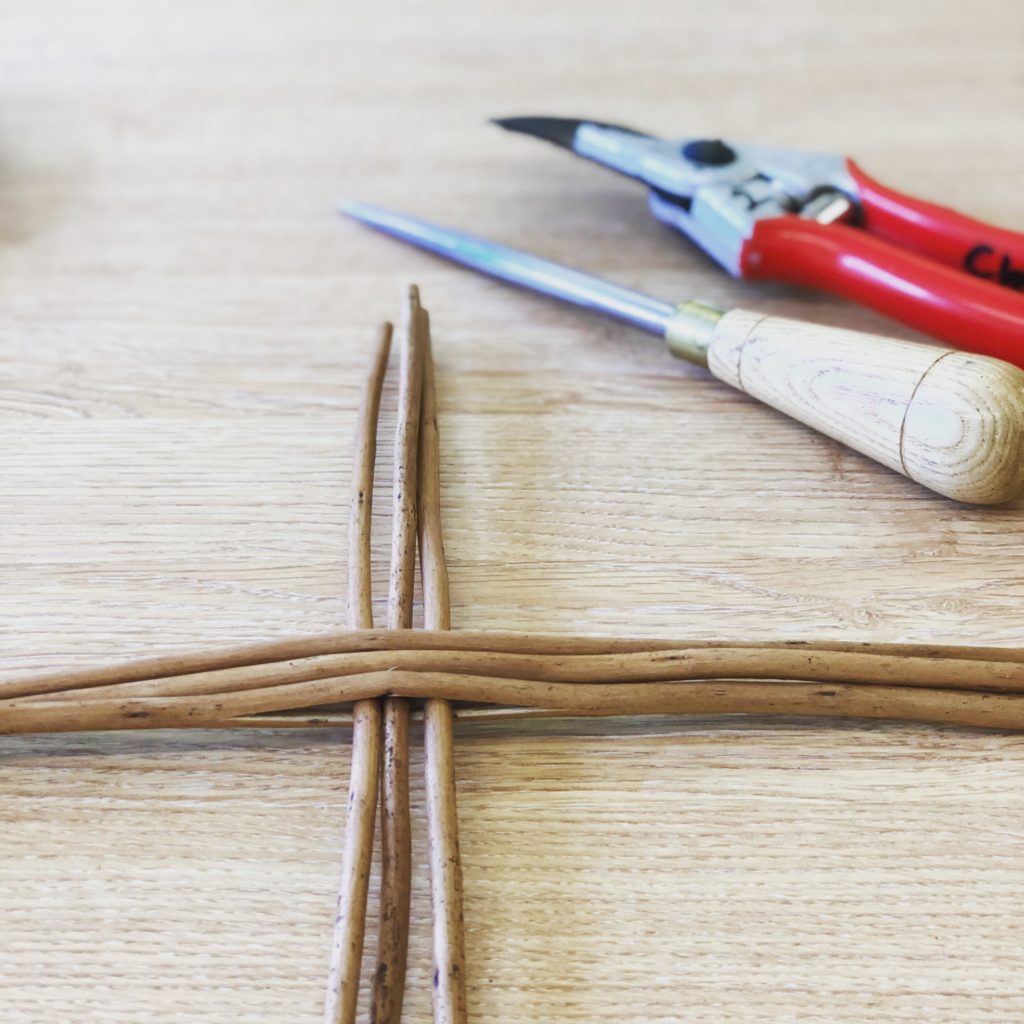
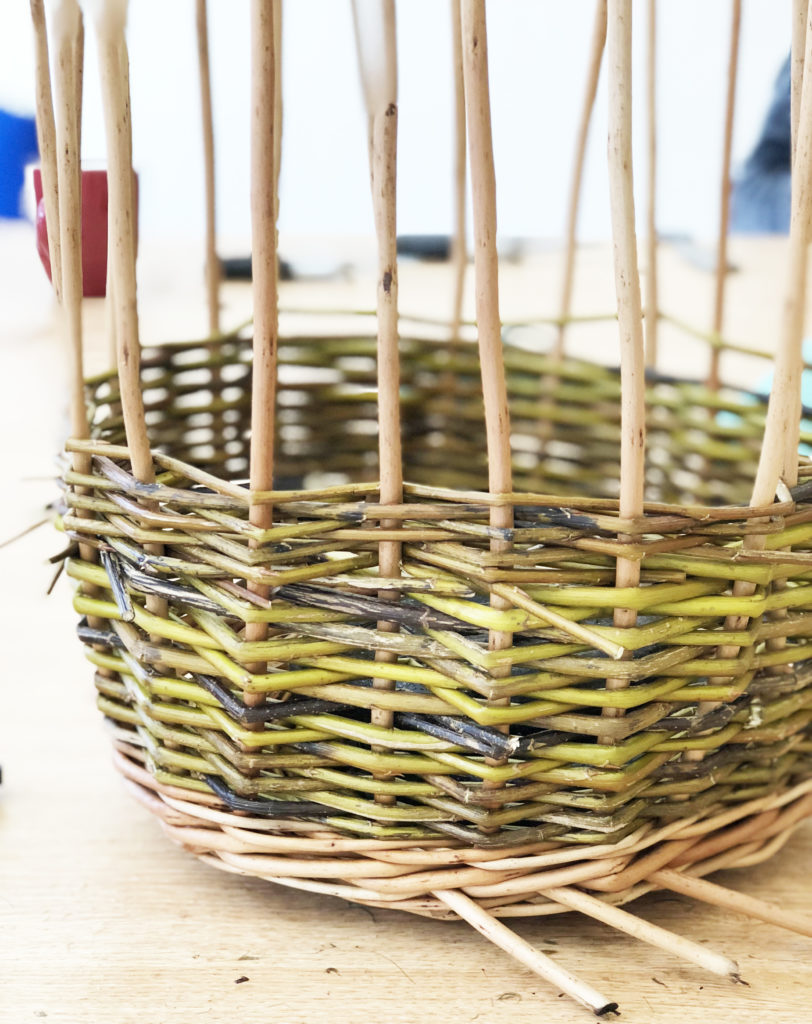
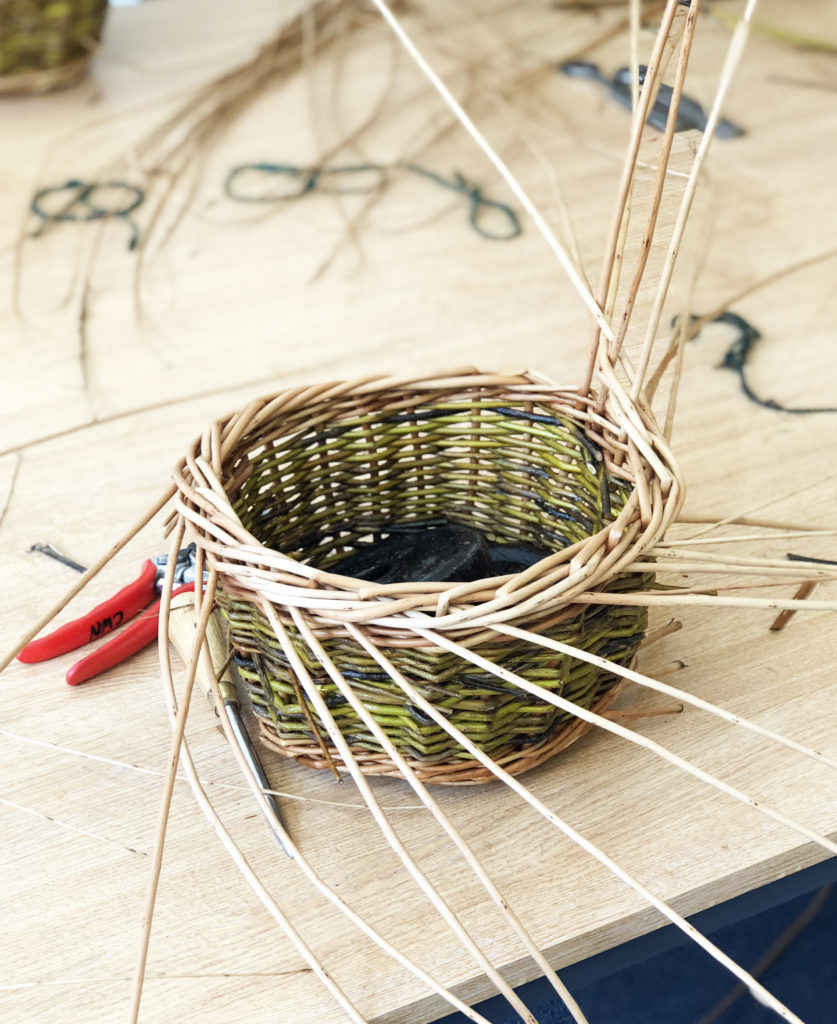
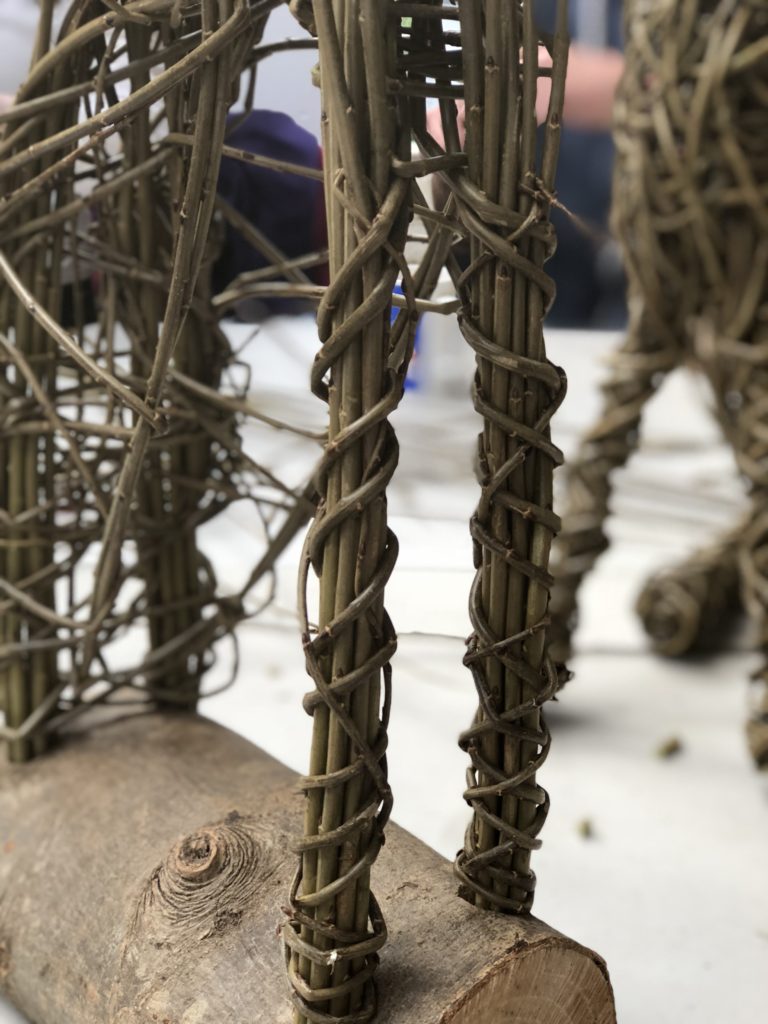 Weaving with willow is an entirely immersive and tactile experience. It’s just you and the lengths of willow creating the shapes. You bend and weave, unpick, and weave again.
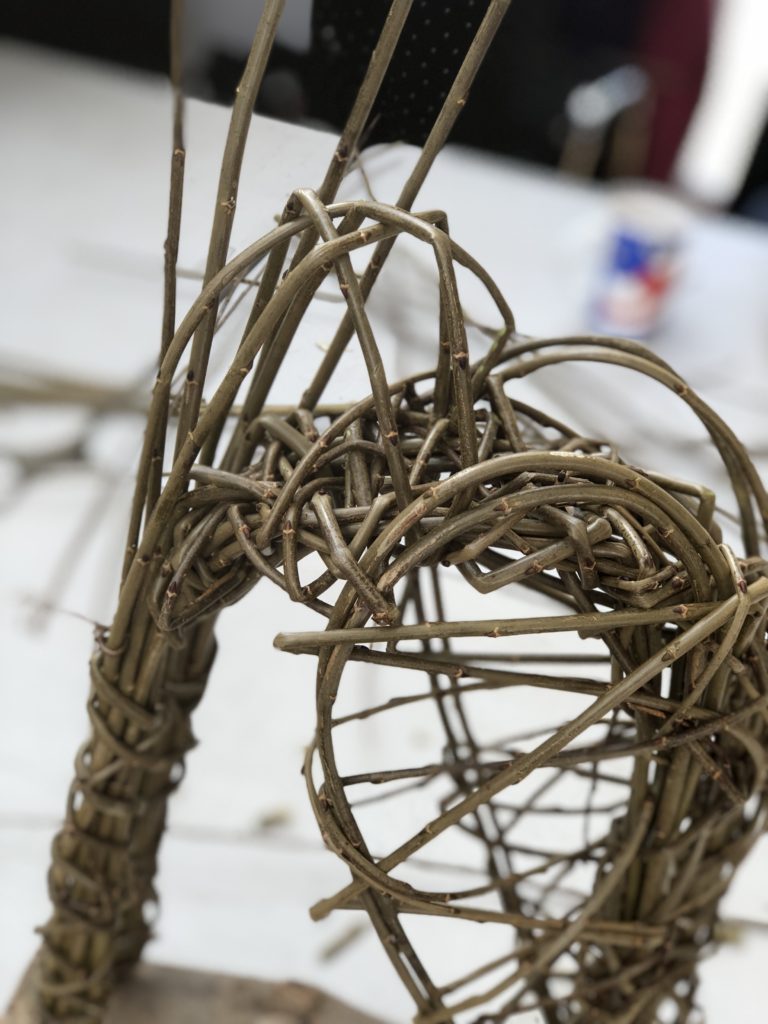 There’s lots of tea. And cake, of course.
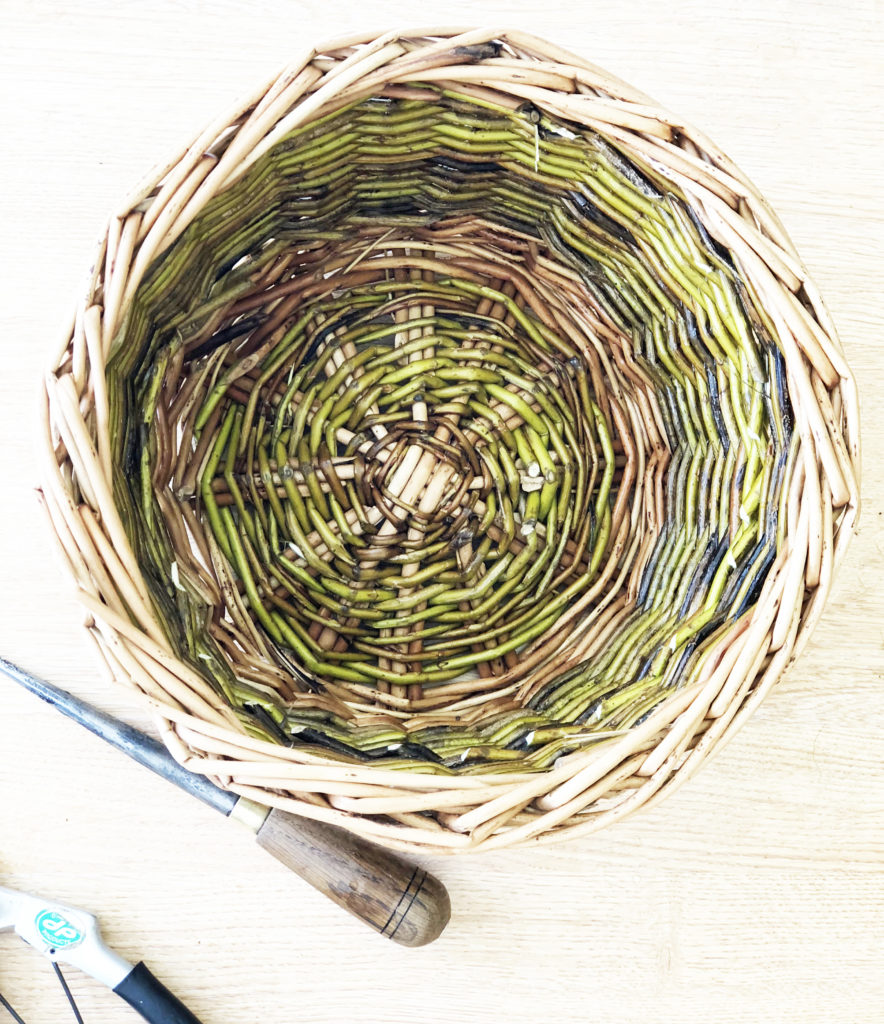
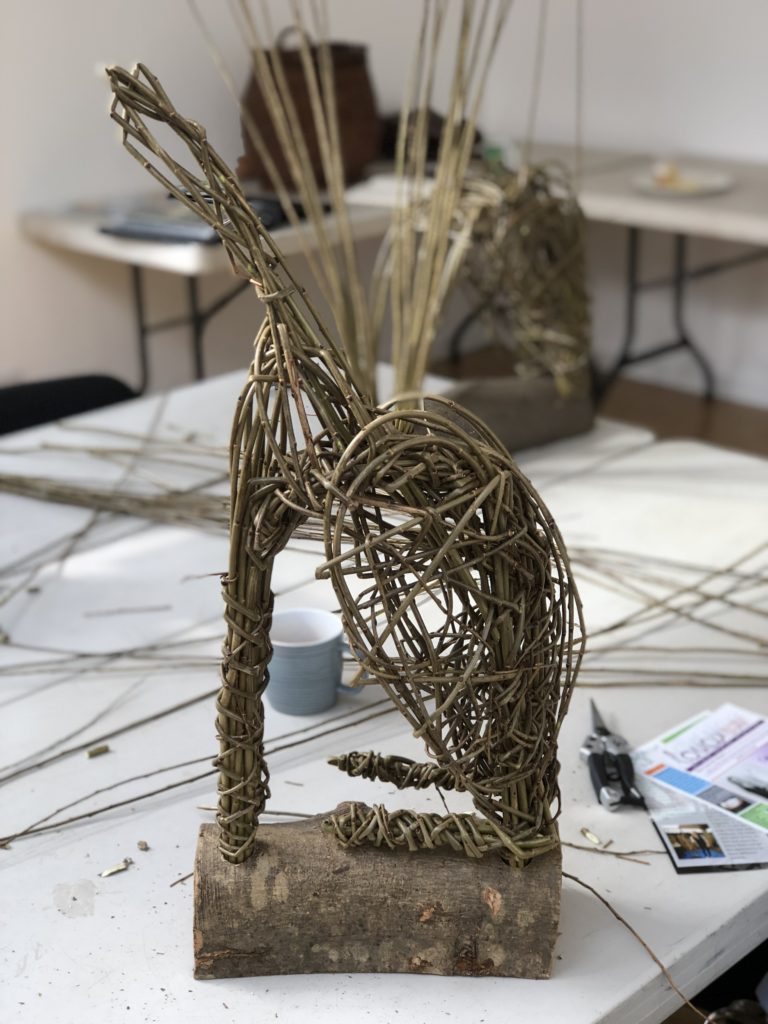 And the magic happens without you even realising.
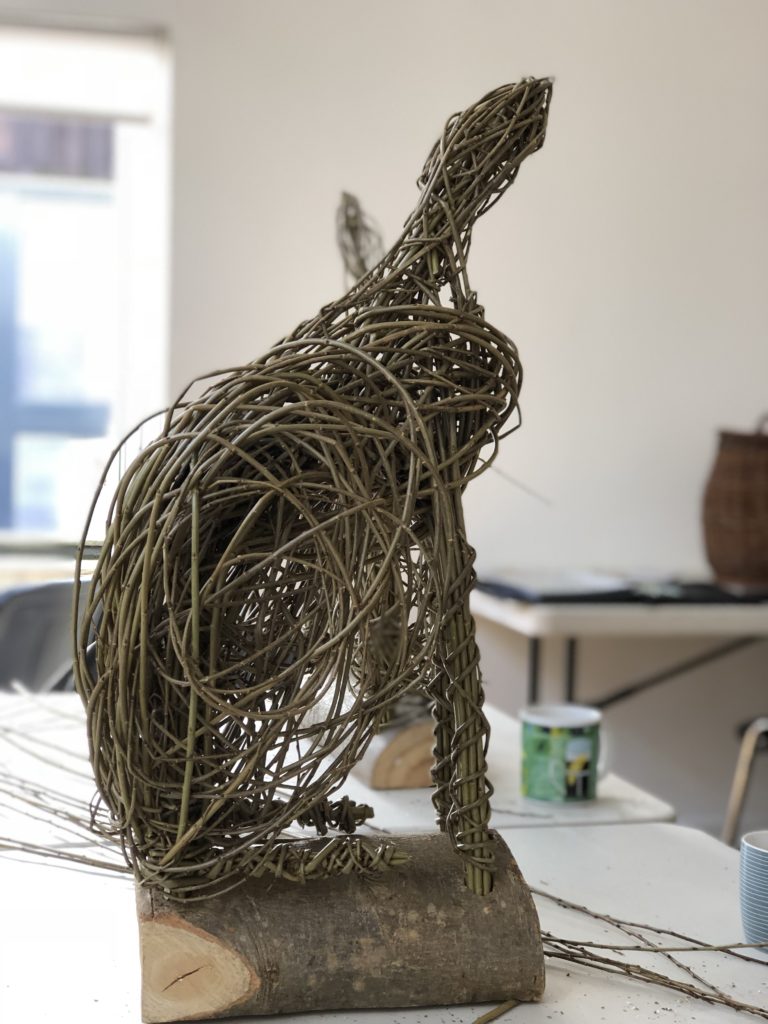 Until you step back at the end of the day, and TahDah!
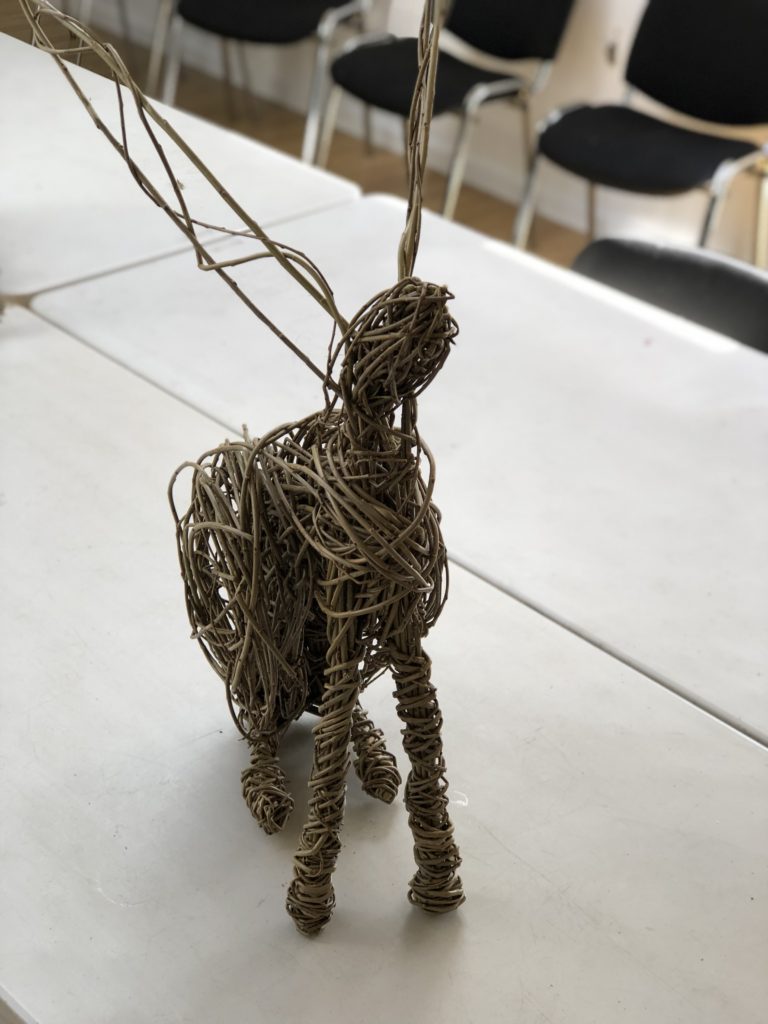 A stargazy hare of your own.
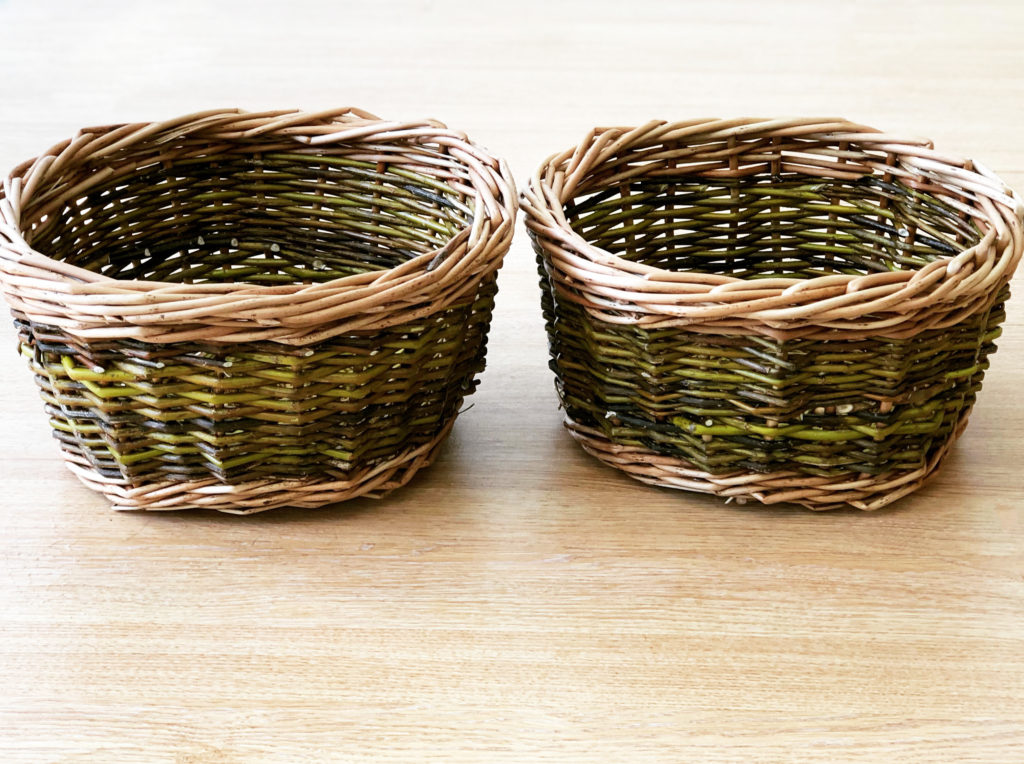
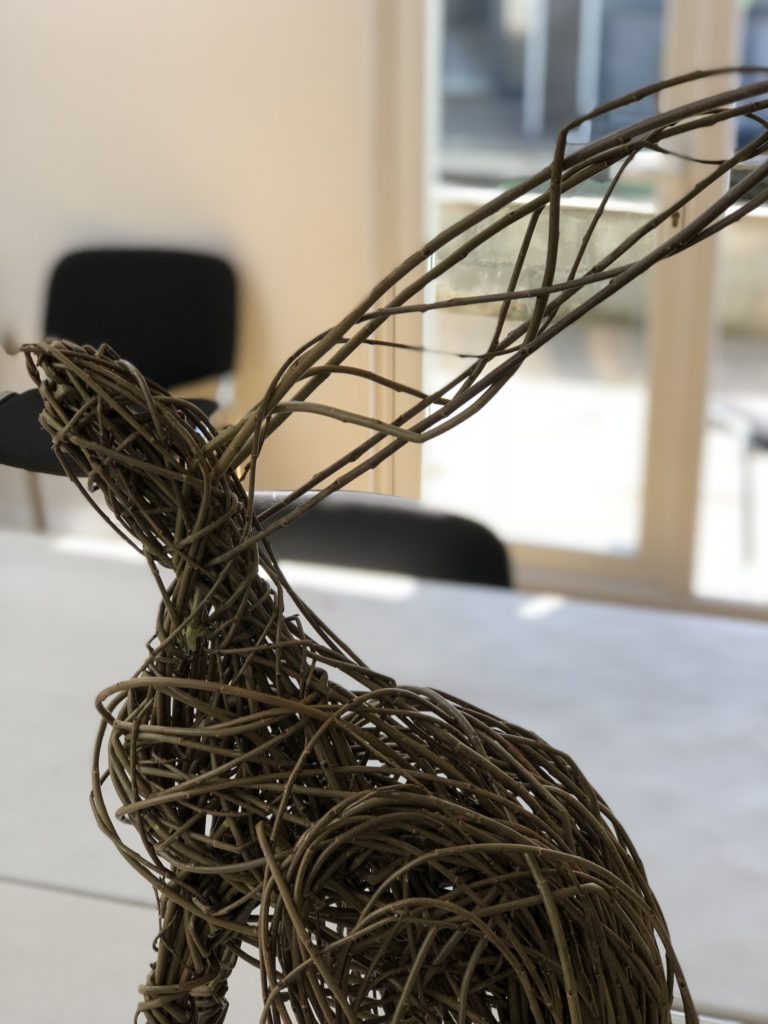 If you ever get the chance to do a workshop with Joe, I’d highly recommend it. I’m already contemplating which one to do next. I have a thing for baskets, so maybe some bread baskets.
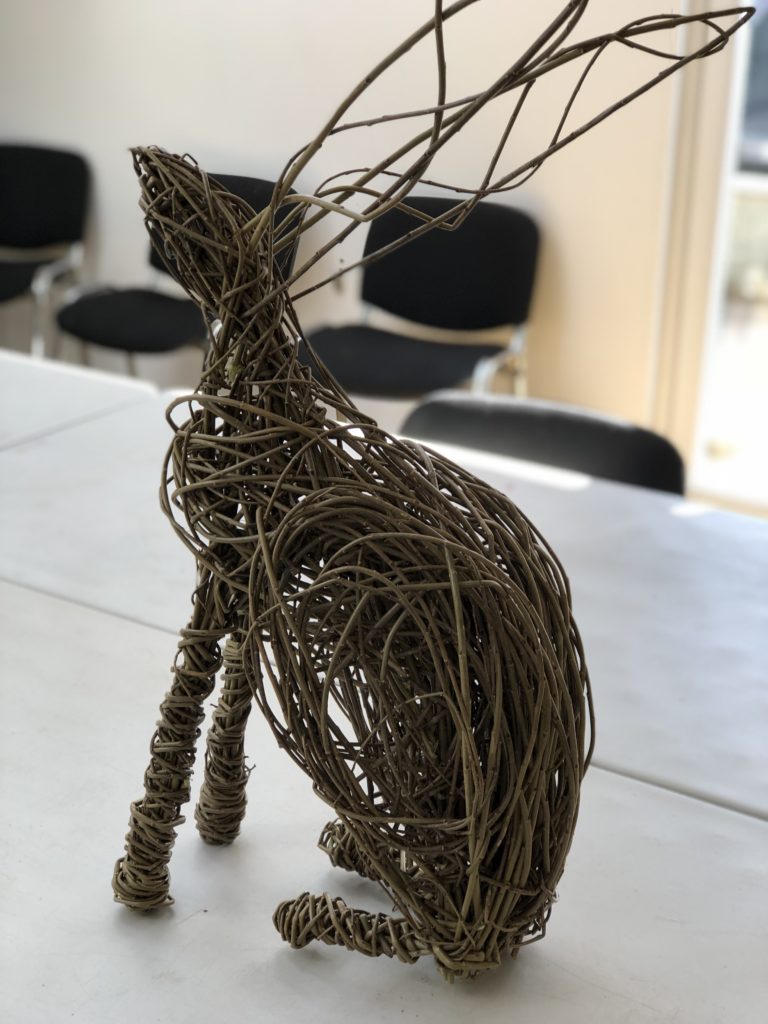 The hare is sat on my kitchen windowsill as I type. I’m inordinately proud of him, and astonished how much fun I’m having stepping outside my comfort zone creatively this year. It’s like a breath of fresh air.