A couple of weeks ago we had a family gathering for Chinese food and I was determined to finish this blouse to wear for it. Armed with lots of tea, plenty of episodes of The Archers on download, and the spirit of the Great British Sewing Bee, I set to.
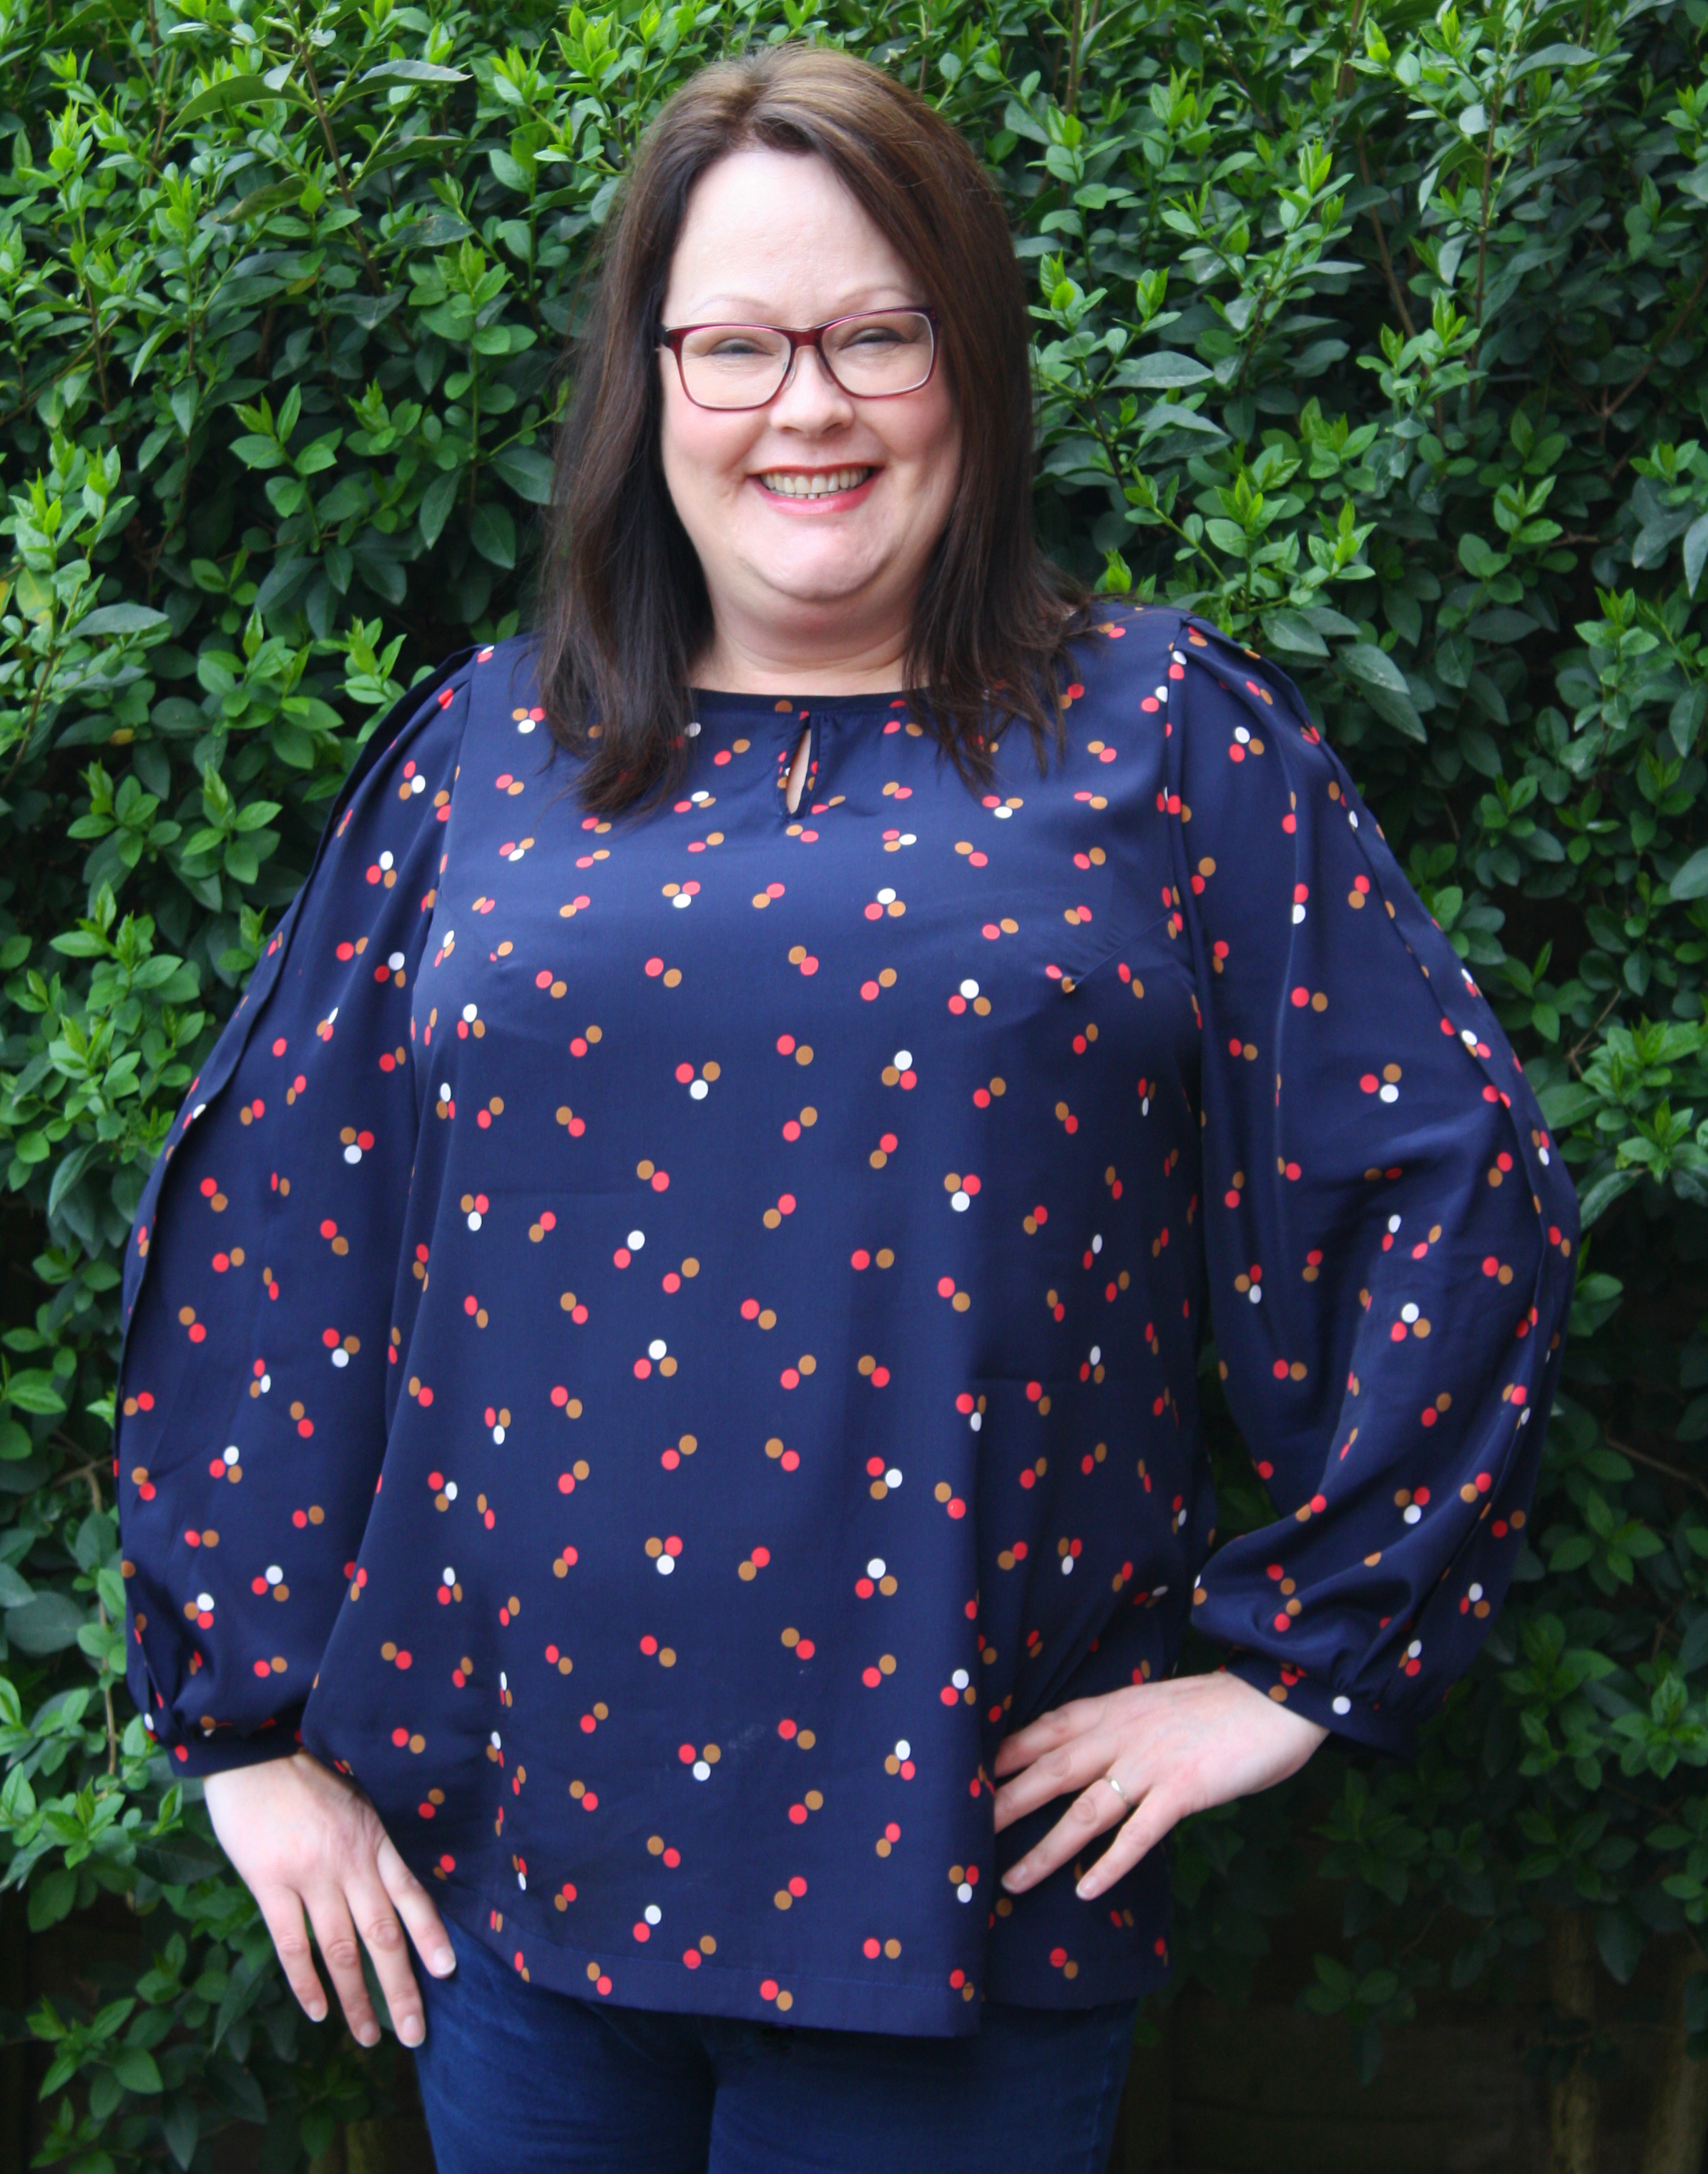
I made it and despite my reservations about the pattern, I’m really delighted with the finished blouse.
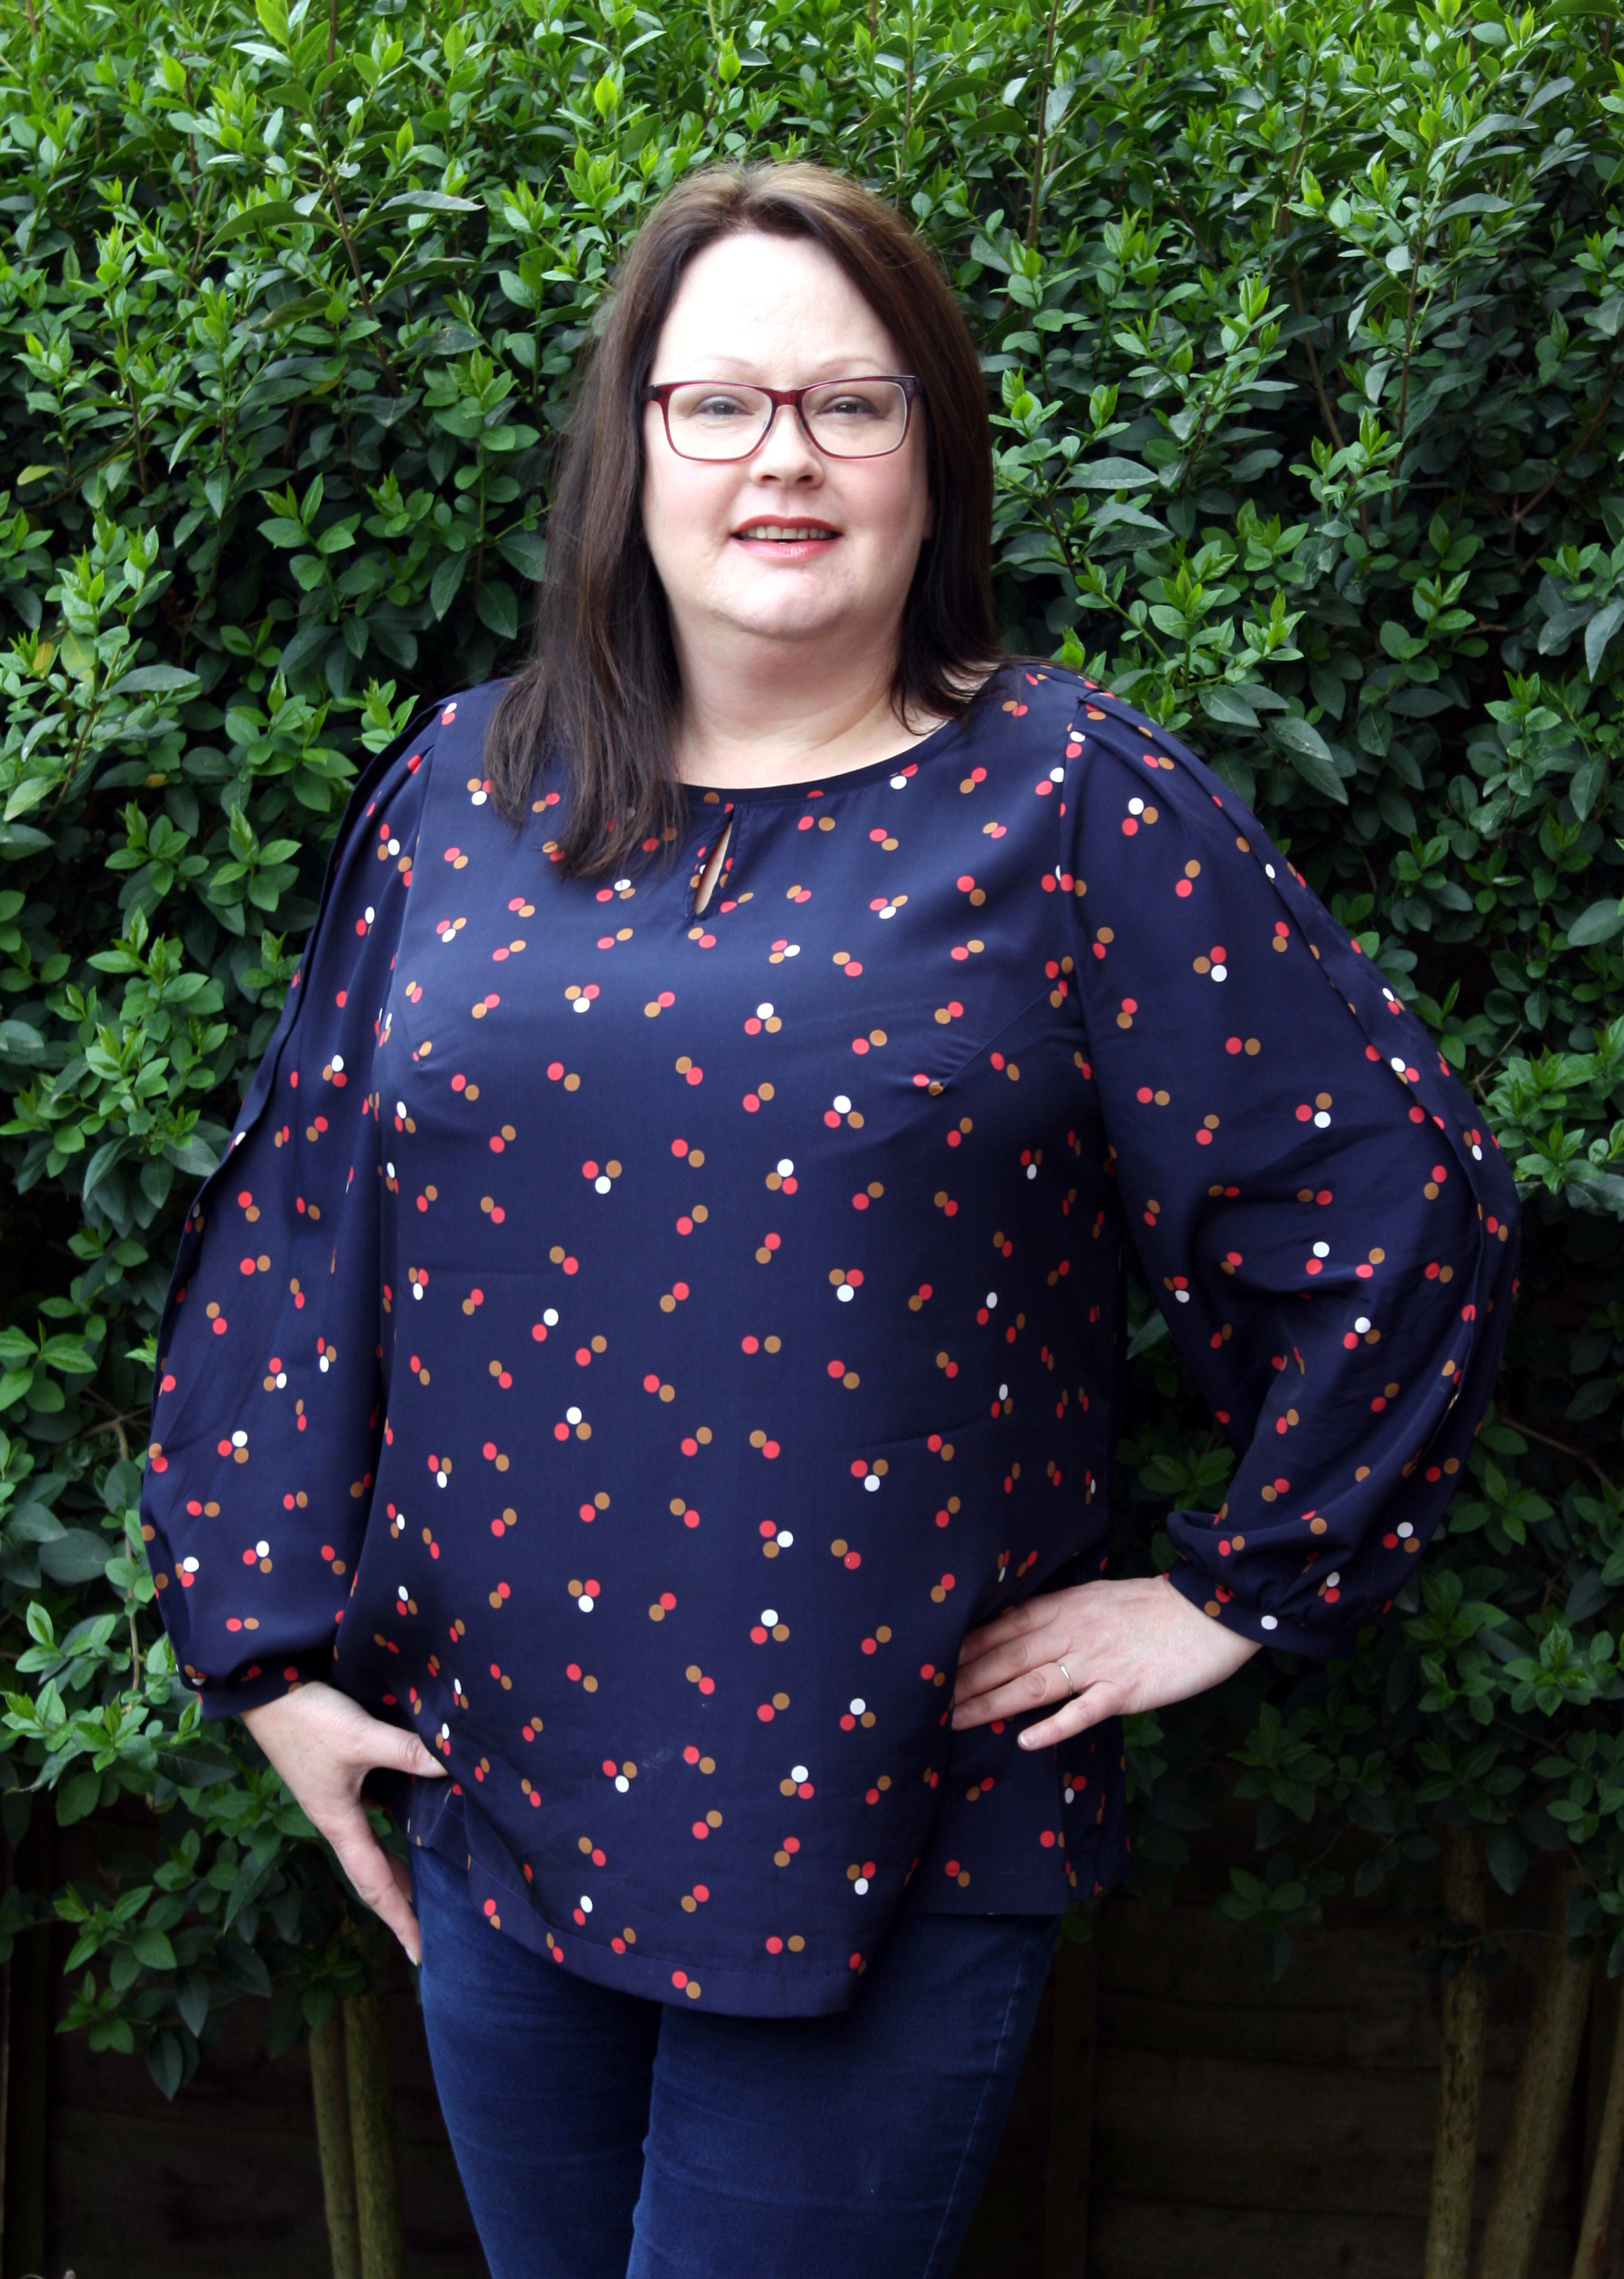
We’ll ignore the fact that I’m larger than the average bear at the moment, and the hedge is in dire need of a trim, shall we?!
Oh, and the creases…I’ve been wearing this all day, including a couple of hours in the car driving to and fro!
The Fabric
This fabric was a lucky find in one of the offcuts bins at Abakhan. It’s polyester but if you don’t look to closely it could just about pass for silk. It’s got a great drape and because they sold it by weight, it cost me about £3. So the whole blouse, including the pattern, came in at under a fiver.
On the subject of polyester…I know it gets a bad rap, but some of my favourite RTW blouse are lightweight poly, and I have to say they suit my lifestyle perfectly. So whilst I’m still always going to love a good quality cotton, I’m not going to turn my nose up at a cute poly, especially when the result is this good.
So, what do I think of the pattern?
Well, I covered this in some detail in my previous post, but, despite the issues I had with the actual pattern, I’m really rather pleased with the results.
The instructions are hilarious. They’ve obviously been run through an online translation and as such make Burda instructions look like War & Peace. I had no idea what they intended me to do with the sleeves and initially sewed both marked pleats in place, only to find that I couldn’t move my arm.
10 minutes with a stitch-unpick and that issue was solved!
I should also point out that I straightened the seam-line of the sleeve to reduce some of the fullness at the cuff.
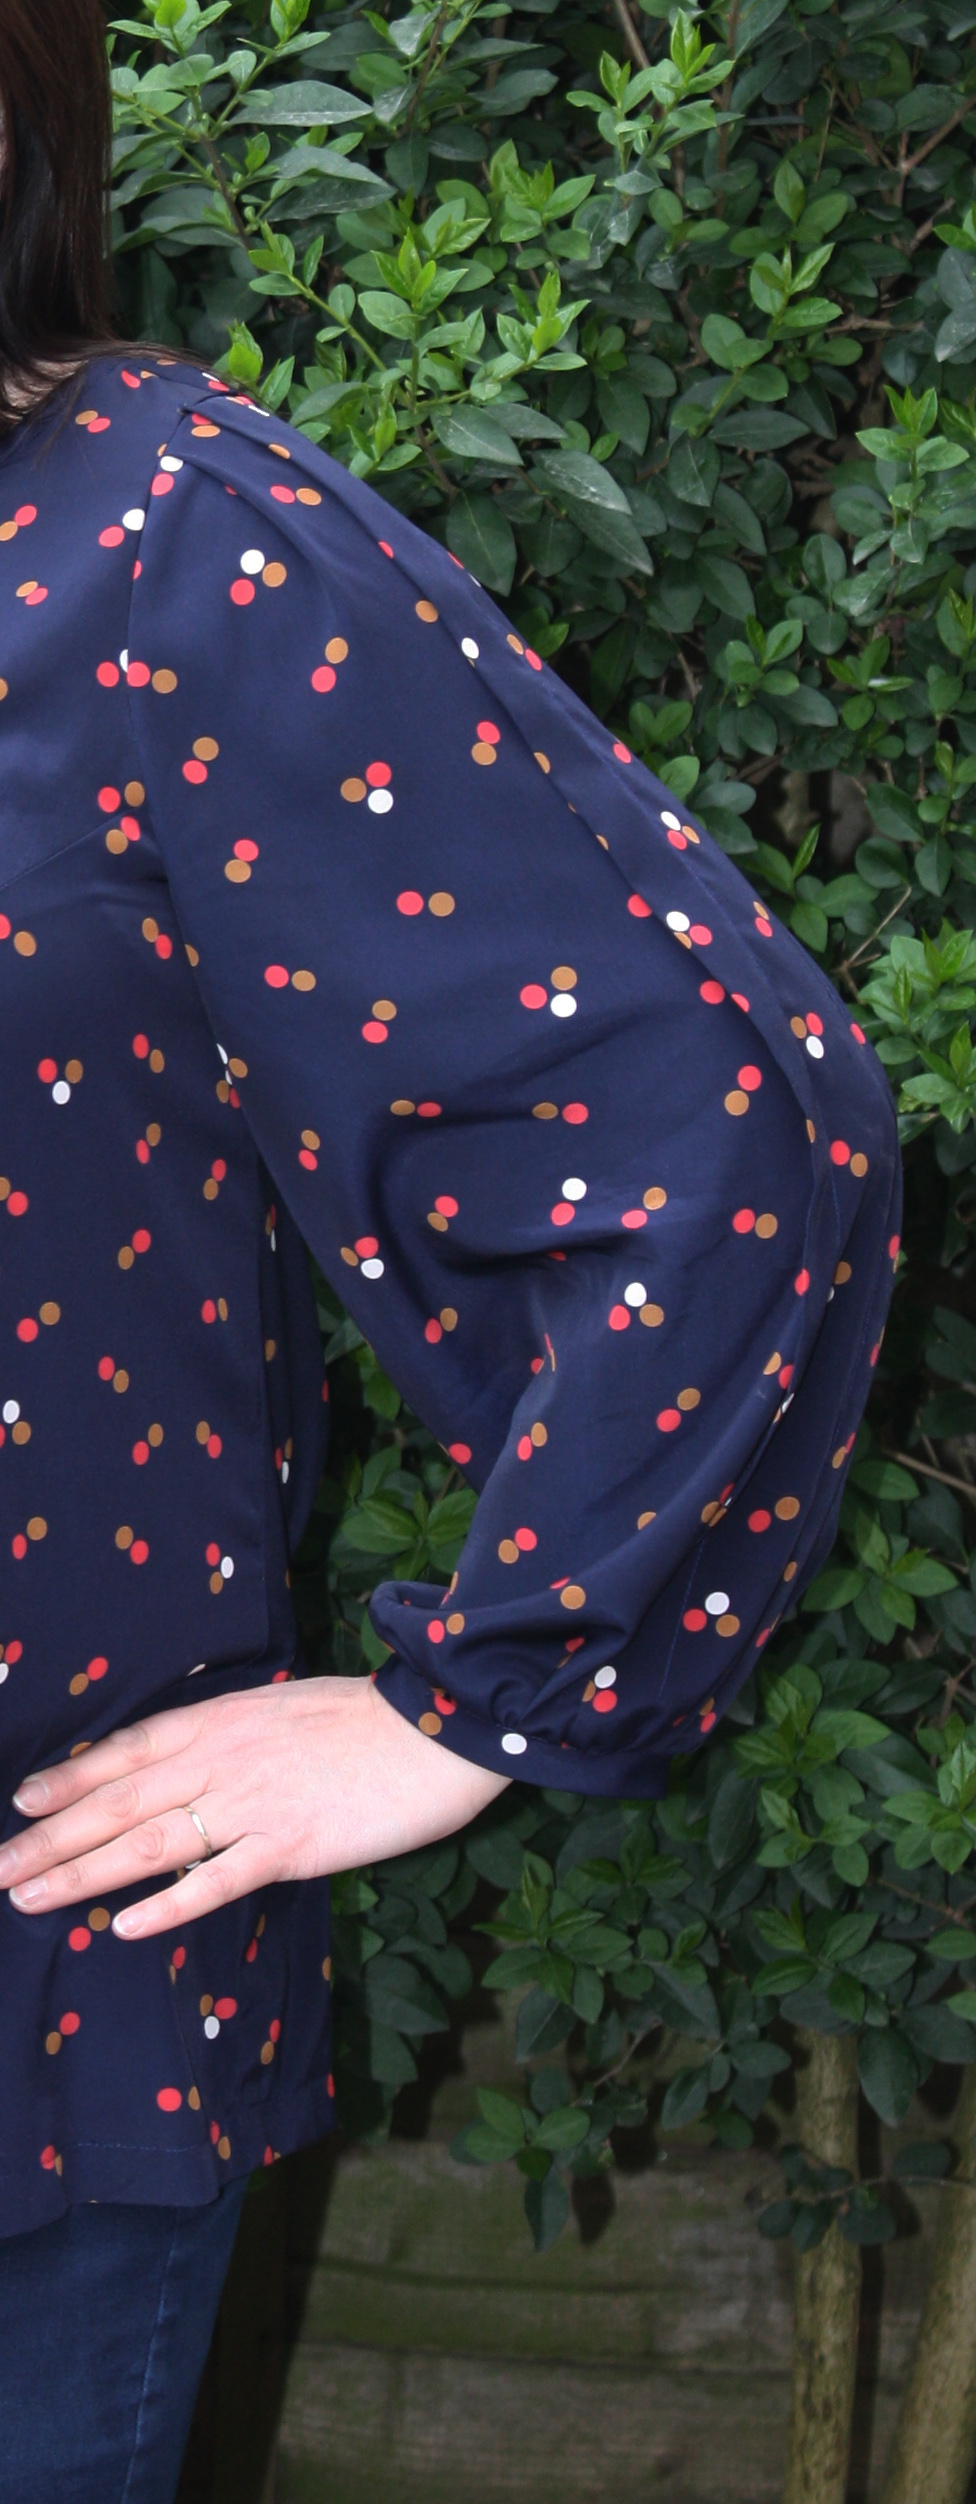
You can see where the second pleat has been released.
These patterns have the direct opposite of the clear and lovely instructions of such independents as Cake, Colette or Oliver + S. So I pretty much made it up as I went along.
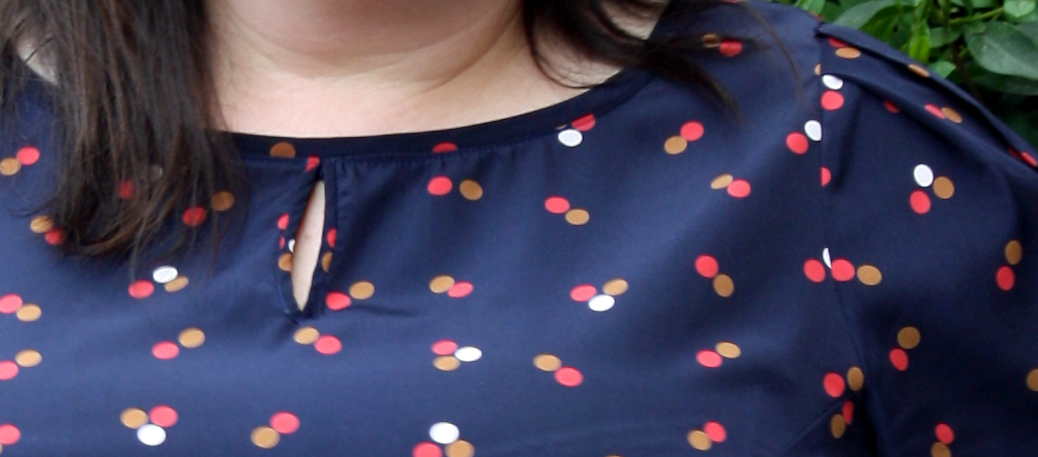
Bias binding for the neck opening and neckline. A bit rough and ready but I was up against the clock and not completely convinced this blouse was going to be wearable. You only notice when you get really, really up close and personal, and The Husband is never going to criticise my stitching 😉
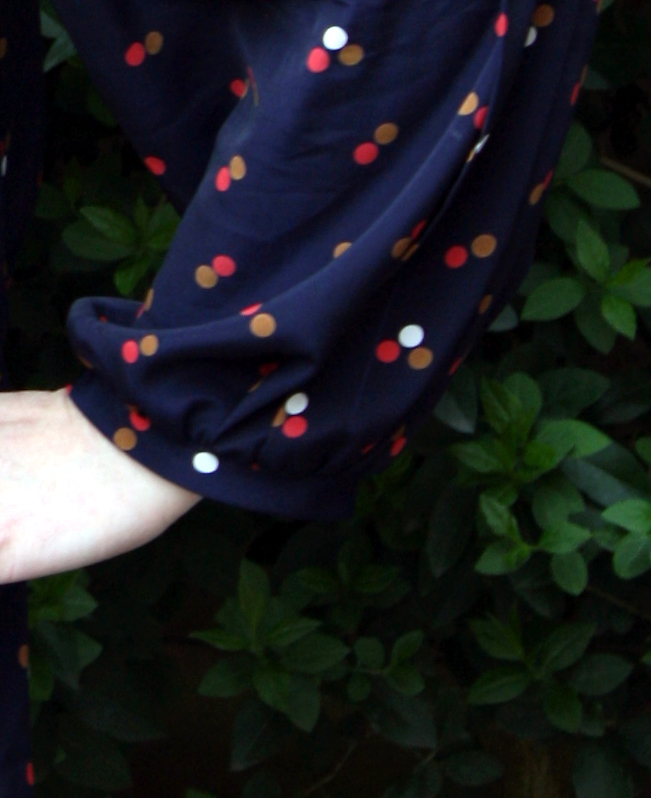
And a quick bias cuff with the bottom of the sleeve gathered slightly to fit.
Would I make this again?
It might surprise you, but absolutely yes! I got many compliments on our night out, most along the line of “wow…love your blouse…where did you buy it”. I’ll take those, thank you very much!
I really need to learn some new poses!
I’ve some beautiful lightweight cotton with a divine polka dot that I’ve been hoarding since November last year (6 metres of it…an anniversary gift from The Husband. Reason to love him #762!)
I’m planning to add some shirring to the centre back to add a little more shaping, and to the bottom of the sleeve instead of a cuff. I’ll probably just gather the sleeve next time although I do like the pleat, but I’m contemplating adding some pintucks to the front and moving the opening to the back with a wee button.
It’ll have to wait a little bit though. A certain young lady has commandeered some red denim in my stash and dragged me to the sewing shop today to buy lining and notions for her own version of the Spring Showers Jacket. Hey…it’s cheaper than a bike!


